Modded Minecraft is always more fun. If you’ve used Forge before, you’ll like NeoForge, it’s the modern continuation of Forge, built for better and faster updates, more stability, and keeping compatibility with many classic Forge mods.
Starting with Minecraft 1.20.2+, many mod devs are targeting NeoForge. This guide shows you how to install NeoForge both via the CurseForge app (easy) and manually (for more control). We’ll also go through great mods to try and common fixes for issues you might come across.
Before Installing Make sure:
- You have Minecraft Java Edition installed and run at least once for the version you want to install mods on (this makes sure necessary files are downloaded).
- You have Java installed on your system (when installing manually, the CurseForge app will do it automatically for you).
- Your Minecraft Launcher is closed while installing (or relaunch it after installing).
Method One: Install NeoForge via the CurseForge App
- Open CurseForge and click on “Minecraft”.
- The first time you use it, you’ll be asked to set up a Minecraft modding folder. Choose Standard (Recommended) and hit “Continue”.
- At the My Modpacks page click “+ Create” in the top-left (or “Create Modpack” in the center if the page is empty).
- In the Create Profile window:
- Set Modloader to NeoForge.
- Pick the Minecraft version you want (make sure it matches the mods you plan to use).
- If you are looking to install a specific mod select the NeoForge version corresponding to the mod you want under "Modloader Version".
- Name your profile and hit “Create”.
- After the profile is set up, you’ll see a Play button. Click the three dots next to it and choose “Add Content” to browse and install NeoForge mods directly.
- Alternatively, you can click “Open Folder” from the same menu and manually drop .jar mod files into the profile’s “mods” folder.
- When you’re ready, hit “Play” in CurseForge.
Method Two: Install NeoForge Manually
- Run Minecraft once if you have not run that specific version before.Open the Minecraft Launcher, select the version you want, and launch it once before you run the NeoForge installer. This step ensures Minecraft creates the necessary game files.
- Go to the official NeoForge site: neoforged.net and navigate to the “NeoForge installer files” section.
- Choose your version & download.
- Select the Minecraft version you want.
- Choose the corresponding NeoForge version.
- Click “Click Here to Download Installer”.
- Open the installer.
- Set install options:
- Choose “Install Client.”
- Make sure the installer points to your Minecraft game directory (it should auto-detect it).
- Click “Install”. The installer will download files and create a new NeoForge profile in your Minecraft Launcher.
- Restart your Minecraft Launcher and locate the Configuration tab
- Create a new configuration choosing the newly installed Neoforge version and launch.
- Add mods in your game directory
- on Windows C:/Users/<YourUsername>/AppData/Roaming/.minecraft/mods).
- on MacOS ~/Library/Application Support/minecraft/mods).
- Drop your NeoForge .jar mod files there (and any required library mods).
- Relaunch Minecraft through the NeoForge profile, and your mods should appear in-game.
1. Just Enough Items (JEI)
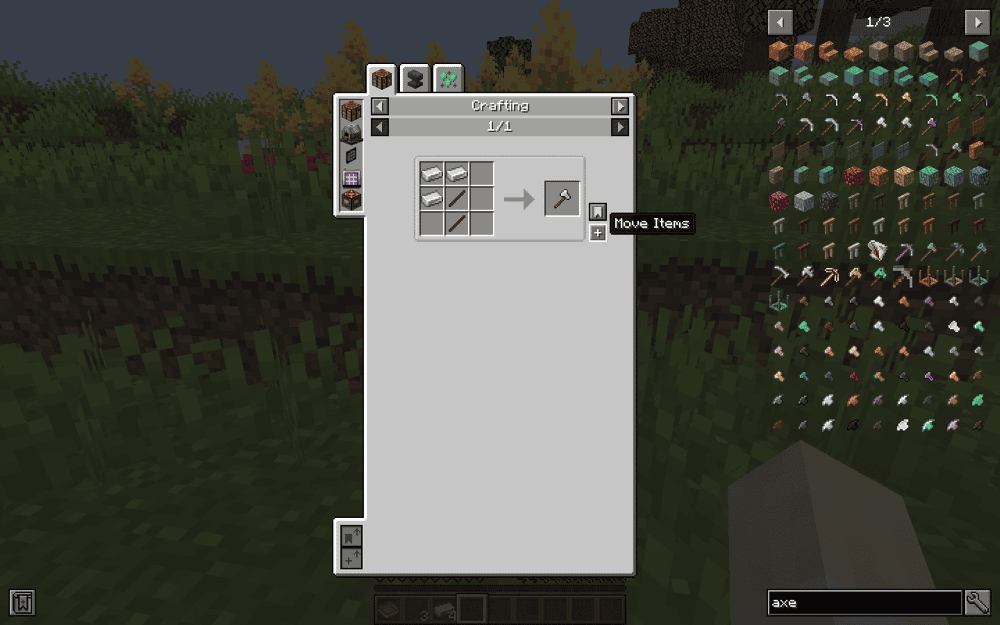
JEI makes finding recipes super easy. Hover over any item and press R to see how to craft it, or U to see what it's used for. You can search by item name or mod, you can also drag recipes directly into the crafting grid. In "cheat mode", you can click to grab items. It's essential if playing modded Minecraft, it saves so much time and effort especially when each mod is adding a bunch of new items.
2. Alex's Mobs

Alex's Mobs adds nearly 90 new creatures to Minecraft, some based on real animals like bears and orcas, and others purely fantastical. All mobs have meaningful roles: unique drops, behaviors, or interactions, rather than just being decorative. The mod also gives you an Animal Dictionary when you join a world, which explains each creature's use. It's designed to blend with vanilla making your world feel much more alive and immersive.
3. Terralith
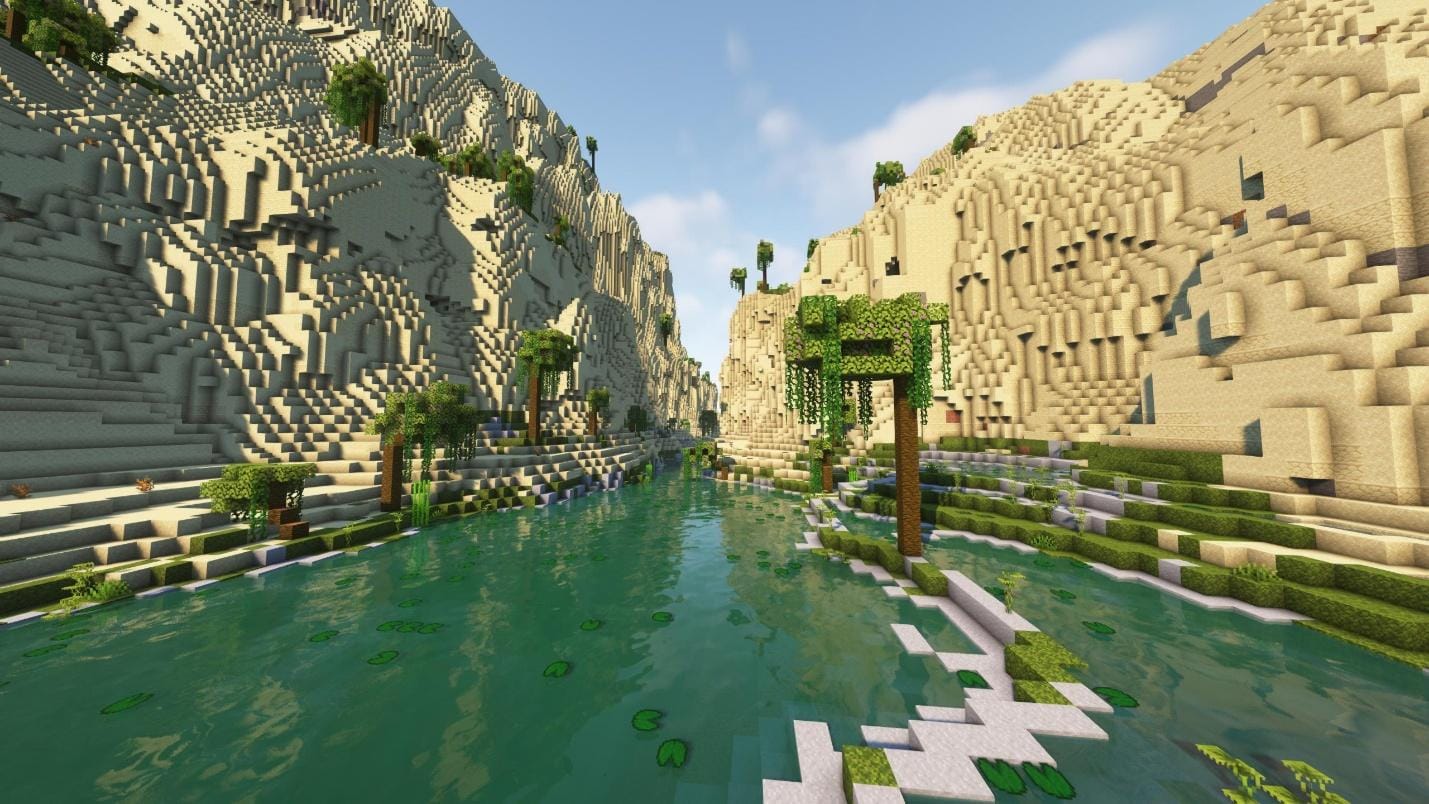
Terralith massively overhauls world generation. Adding nearly 100 new biomes, revamped terrain features, caves, floating islands, and deep sea trenches without adding any new blocks, making it super compatible with other mods and vanilla-style builds.
4. Farmer's Delight
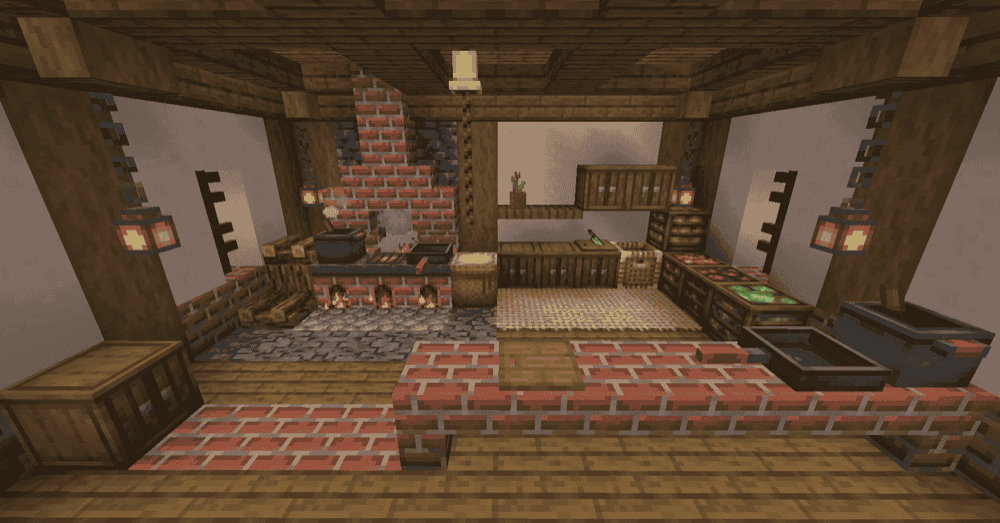
Farmer's Delight quietly expands your farming and cooking options. With a simple cooking system and everyday ingredients you already use, you can make sandwiches, salads, stews, desserts basically turn your kitchen into something more useful and fun, as well as bringing in helpful tools and utilities such as better soil mechanics, resource gathering tools, decorative blocks, and utility items that give your farms and kitchens real depth.
5. Dungeons and Taverns
Dungeons & Taverns adds a variety of vanilla-style structures that blend right into the Minecraft world, from taverns and fire watch towers to hidden dungeons like Illager hideouts and miner outposts. It also enhances existing vanilla structures with new loot and generation patterns, giving old exploration spots a fresh feel. The mod also adds unique enchantments that you can find in chests within those structures, adding extra rewards for adventurers.
Common Issues & Fixes
- Game crashes on launch (duplicate options.txt or config file issue). A frequent cause is a corrupted or duplicated options.txt. Deleting it often fixes the crash.
- NeoForge profile doesn’t show in the launcher. If the profile isn’t created, often rerunning the installer (with the launcher closed) resolves it.
- Graphics/Video Card Crashes: If you see errors about your GPU, drivers, or ones ending in “.dll” your graphics card drivers are likely the issue. Update your drivers to the newest version, or undo your last update if that’s when the problems started.
- Crash when opening mod configuration. Some versions crash if you try to open a mod’s “Config” menu, it’s a known bug (often due to method or interface mismatches).
- If you are getting the error “java.lang.RuntimeException:java.lang.OutOfMemoryError:”Java heap space, it means your current Java installation is hitting a limit. The fix is to install 64-bit Java instead of 32-bit.