Visual mods are the easiest way to make the little details of Minecraft feel even more alive than ever before. This goes from adding particles to new animations that make everything look just oh so smoother. Here are standout visual mods you can mix and match, whether you’re playing vanilla-style survival or building a cinematic modpack.
1. Not Enough Animations
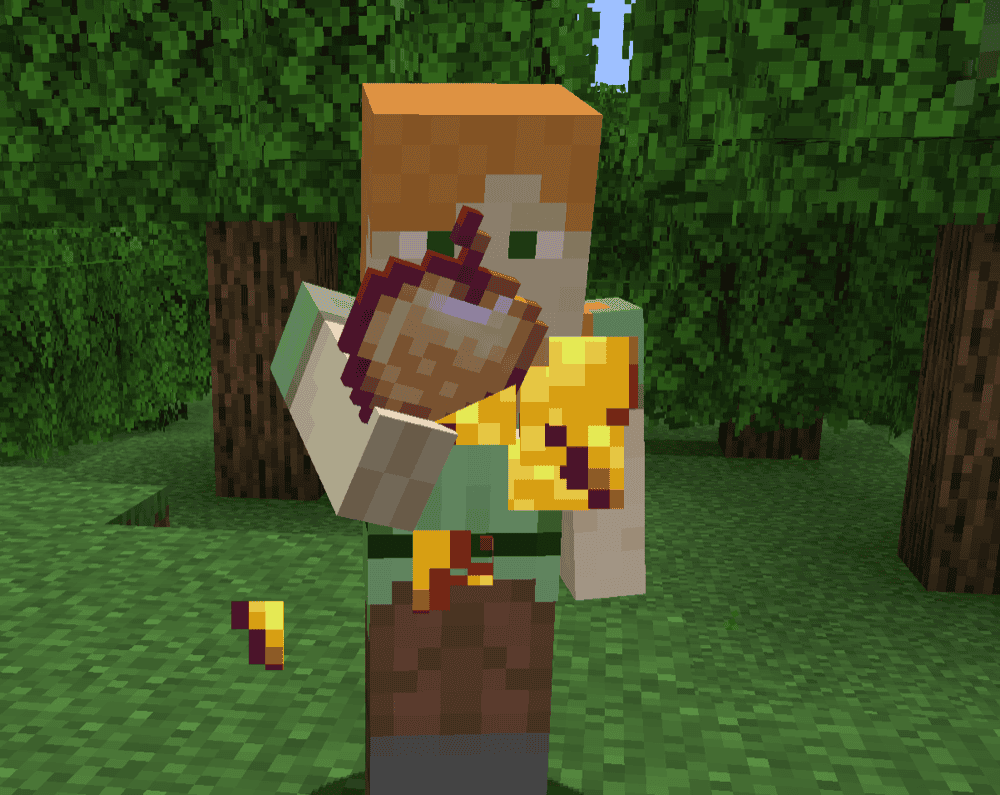
Not Enough Animations adds new animations and introduces third-person animations that were previously only visible in first-person. This means that anything from eating particles to the item you are currently holding (like the map or the spyglass) is finally visible in third-person just how you would see it "the normal way."
Overall, the mod is adding a ton of small yet essential details, making it one of the most popular choices around. Everything is visual-only and can be toggled individually in the in-game config menu, so you can keep the features you like and disable anything that feels extra.
2. Visuality
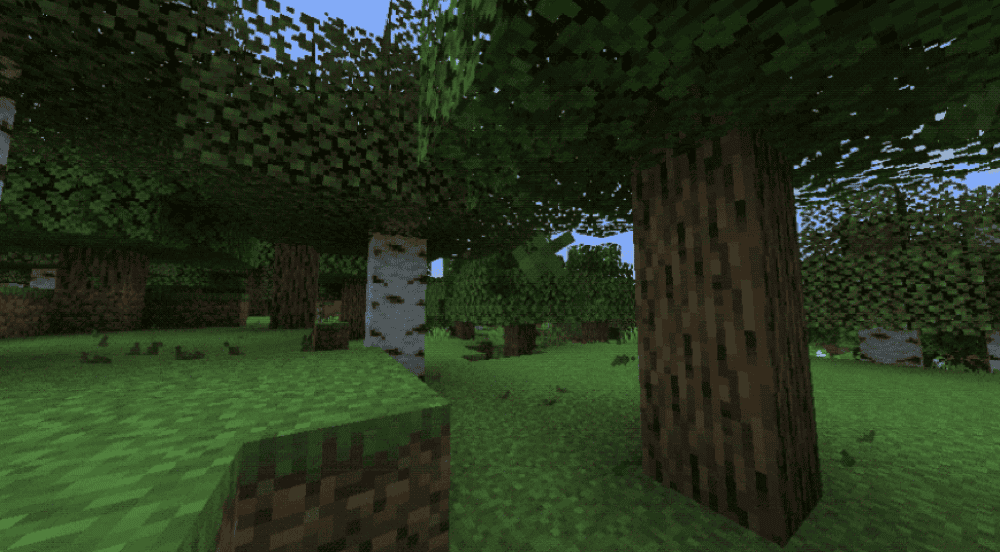
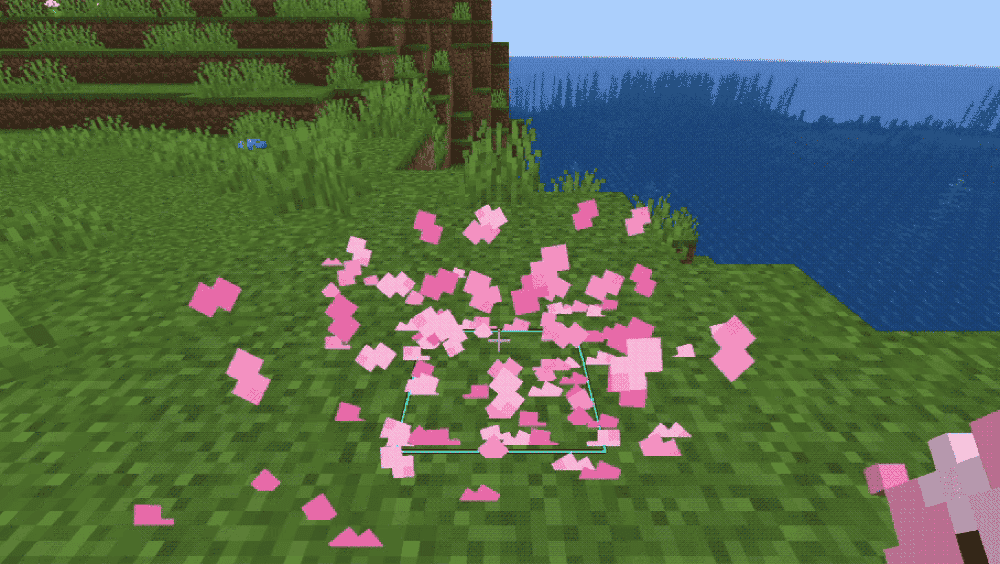
3. Falling Leaves
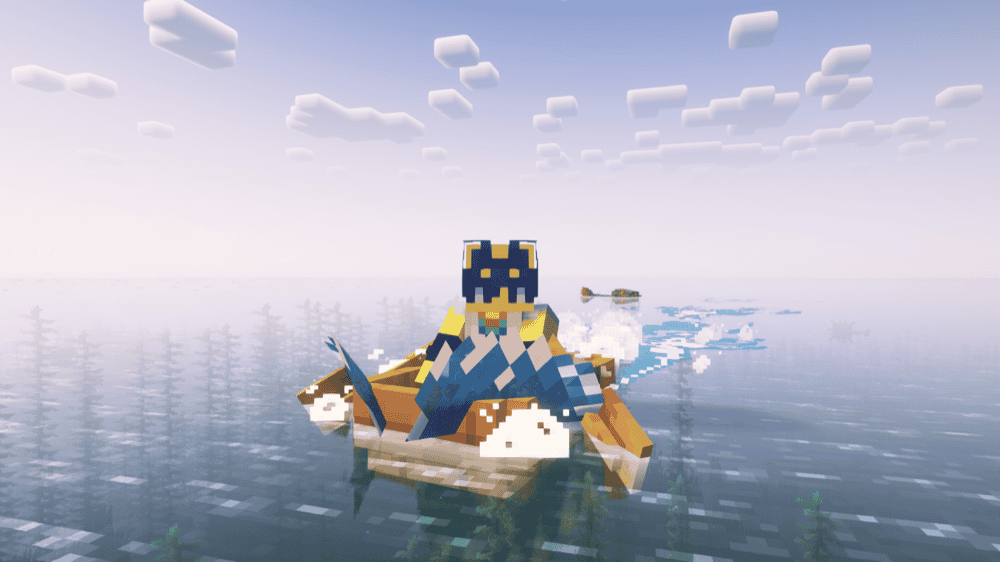
4. Wavey Capes
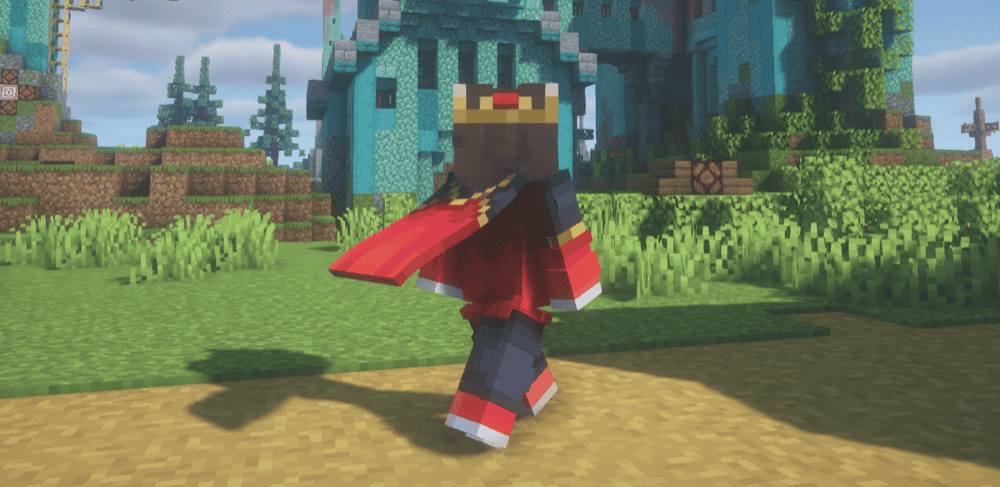
Wavey Capes fixes the static slab cape problem by making your cape move like actual fabric. It renders as a flexible piece with smooth physics, wind sway, and better bending so it looks natural while running, swimming, or turning.
You can tweak everything in an in-game config screen and even switch between different styles, from fully simulated movement to simpler classic bends, while staying fully client-side, so it works on servers without needing anything installed server-side.
5. Blur+
Blur+ upgrades the vanilla background blur into something that looks good. It adds a smooth Gaussian blur behind menus and inventories, with extra polish like fade animations, adjustable blur strength, and optional color/gradient overlays so your GUIs feel cleaner and less distracting.
The configuration is flexible too, so if you want a subtle soft focus look or a heavy cinematic blur, you can tweak it in without much effort.
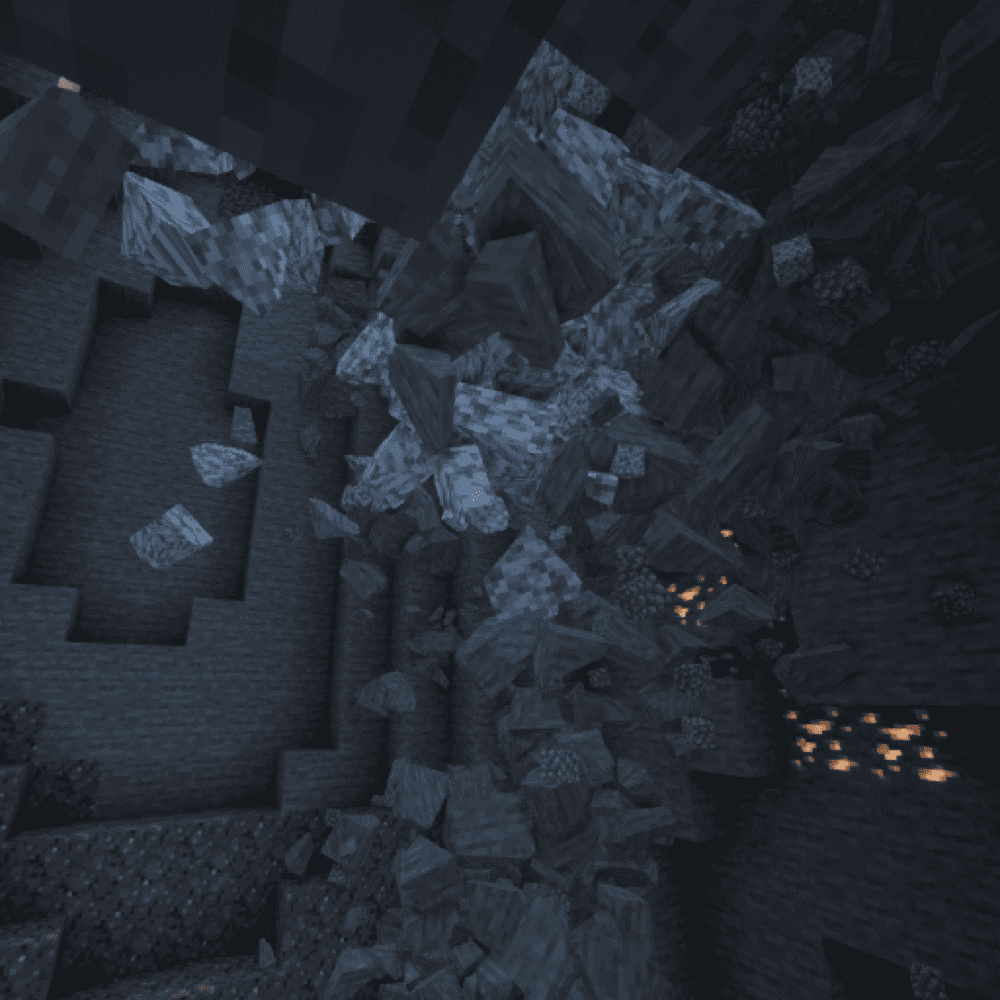
6. Cave Dust
7. Item Borders
8. Wakes
9. Explosive Enhancement: Reforged

10. Smooth Swapping
11. Detail Armor Bar
12. EnhancedVisuals
13. Physics Mod
14. LambdaBetterGrass
15. Visual Overhaul
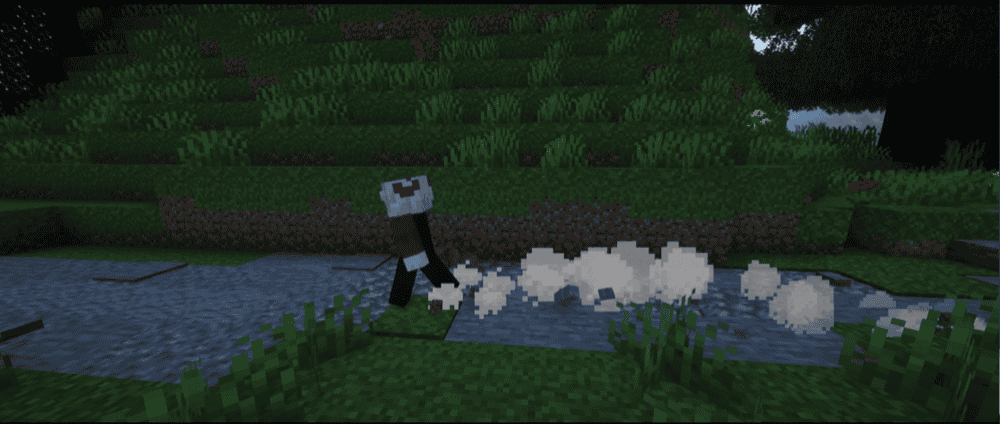
16. FootprintParticle
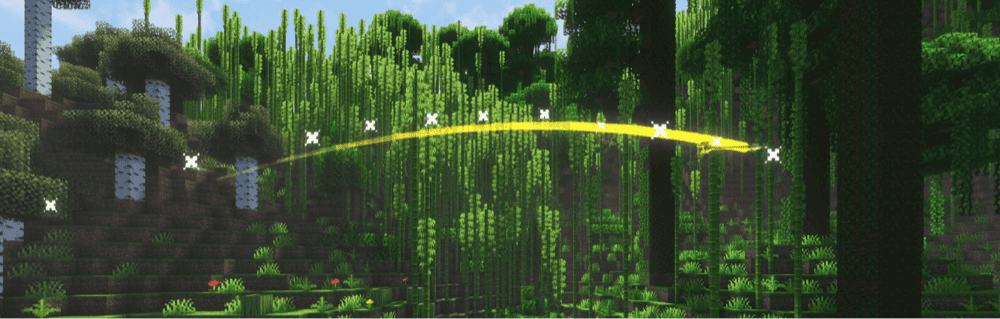
17. Particle Interactions
18. Perception
19. Particle Rain
20. Fancy VFX
How to Install Mods
How to Install with the CurseForge App
- Open CurseForge → Minecraft and create a profile with the modloader and version you need, Fabric, Quilt, NeoForge or Forge (depending on which mods you are looking to install).
- Open your profile and click the three dots next to "Play".
- Click on "Add More Content" from the available options.
- Search the mod you need and click "Install".
- Play from the CurseForge app.
How to Install Mods Manually
- Install a mod loader that matches your Minecraft version (Fabric, Quilt, NeoForge, or Forge).
- Run the installer to add a new profile in the Minecraft Launcher.
- Download the mod’s .jar file from its project page. Making sure both the Minecraft version and loader version match.
- Drop the .jar into the mods folder inside your .minecraft directory (create the folder if it doesn’t exist).
- Launch Minecraft using the new loader profile.
Note: Make sure to check if the mod has been recognized by the game. On the title screen, click “Mods”. If the mod lists any required dependencies (like Fabric API), install those too. Please also note that if using Fabric, the "Mods" button will only appear if the "Mod Menu" mod is installed.
Common mods folder locations:
- Windows: %AppData%\.minecraft\mods,
- macOS: ~/Library/Application Support/minecraft/mods
- Linux: /home/<your-username>/.minecraft/mods
Common Issues and Quick Fixes
Nothing changes after installing a mod
Make sure you’re launching the right modded profile (Fabric/Forge/NeoForge/Quilt). A lot of these changes are subtle, so test something obvious, for instance:
- Water: Wakes
- Caves: Cave Dust
- Forests: Falling Leaves
- Third-person: Not Enough Animations
- Weather: Particle Rain/Pretty Rain
“Missing dependency” / crash on startup
Double-check the required libraries for each mod and also turn off OptiFine as this mod is incompatible with a lot of visual mods. Use both Embeddium and Oculus instead.
Mod works in singleplayer, but not on servers
Most of these mods are client-side, so they’ll work fine – even if they are not deployed on the server.
Note: on Minecraft 1.20.1 and earlier, Particle Rain/Pretty Rain may need to be installed server-side too depending on the build.
FPS drops after adding several visual mods
- Start by reducing particle-heavy effects first:
- Particle Rain or Pretty Rain: density/radius/max particles settings
- Particle Interactions: “override” particles + underwater effects
- FootprintParticle: frequency/lifetime
- Fancy VFX: explosion/shooting/damage effects
- Make sure the game is using the right graphic card from the "F3" menu.
- Try adding performance mods like Embeddium (Forge) or Sodium (Fabric).
- Physics-style mods are the biggest performance wildcard. If you’re using Physics Mod, Perception, or Wakes, expect bigger visuals at the expense of a performance drop when settings are set to high.
Shaders / OptiFine problems
- EnhancedVisuals + OptiFine
Turn off Fast Render, Anisotropic Filtering, and Antialiasing or you can get a black screen.
- Blur+
Blur+ and some shader pipelines don’t play nicely with OptiFine shaders. If Blur+ breaks, test without OptiFine first.
Falling Leaves looks “too windy” or too intense
Lower the spawn rate, reduce lifespan, or disable wind in the config file. You can also set windless dimensions if you only want calm particles in certain worlds.
WaveyCapes looks odd in certain situations
Simulation V2 can fold weirdly during swimming/crawling. Curios/custom equipment slots and chestplate-hiding mods may also not affect cape offset correctly.
Particle Interactions doesn’t show effects from other players
The mod is client-side, so some effects won’t appear for other players’ actions yet. Better multiplayer support is planned which may require a server install later on.