
Minecraft Java doesn't have a built-in switch for "enable mods only for this world". Typically, your mods will load when the game starts through your mod loader (Forge, Fabric, NeoForge). Once loaded, they would then affect every world you open in that session.
But what if you want to enable mods only for a specific world? You can do this by creating separate profiles in CurseForge. Each profile runs its own mod loader, mods, and saves folder. All you have to do is place your world inside the profile that has the mods you want, and you've suddenly got per-world control.
In this guide, we will show you how to seamlessly set things up so all you have to worry about is what’s happening inside your game world.
Why Mods Can't Be Enabled Per World
Mod loaders like Forge and Fabric tend to load mods during game startup, which happens before you even see the main menu. Once loaded, mods are active for your entire session – this applies to every world and every server you join.
Sadly, no specific toggle exists in vanilla Minecraft to turn mods on or off for individual worlds. Unlike Hytale, the game just isn't designed that way. But there is a way around this.
How CurseForge Profiles Work
CurseForge typically stores each profile separately in its dedicated modding folder.
Here are the default locations:
- Windows: "C:/Users/[user]/curseforge/minecraft"
- macOS: "/Users/[user]/Documents/curseforge/minecraft"
Inside that folder, you'll find an "Instances" directory. Inside CurseForge's modding folder, each profile gets its own folder under "Instances". The world folders for that profile are stored in its saves folder, and the mods for that profile are stored in its mods folder.
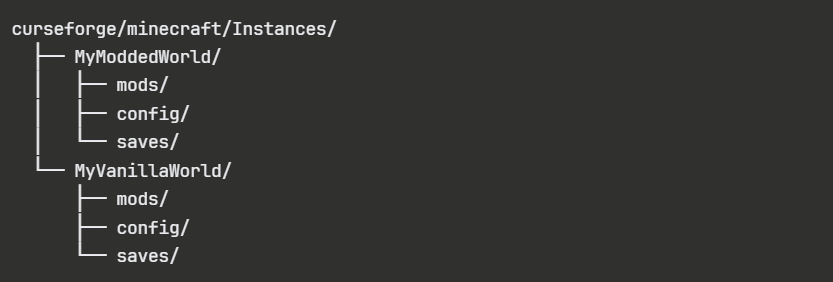
When you launch a profile, it would generally only load the mods in that profile's folder.
Setting Up a Modded World Through a Separate Profile
Here's how to create a profile with specific mods and import a world into it.
Creating a New Profile
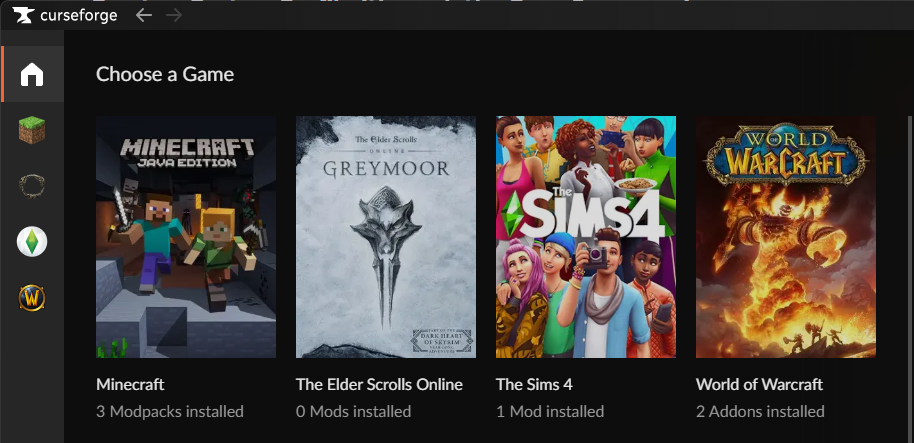
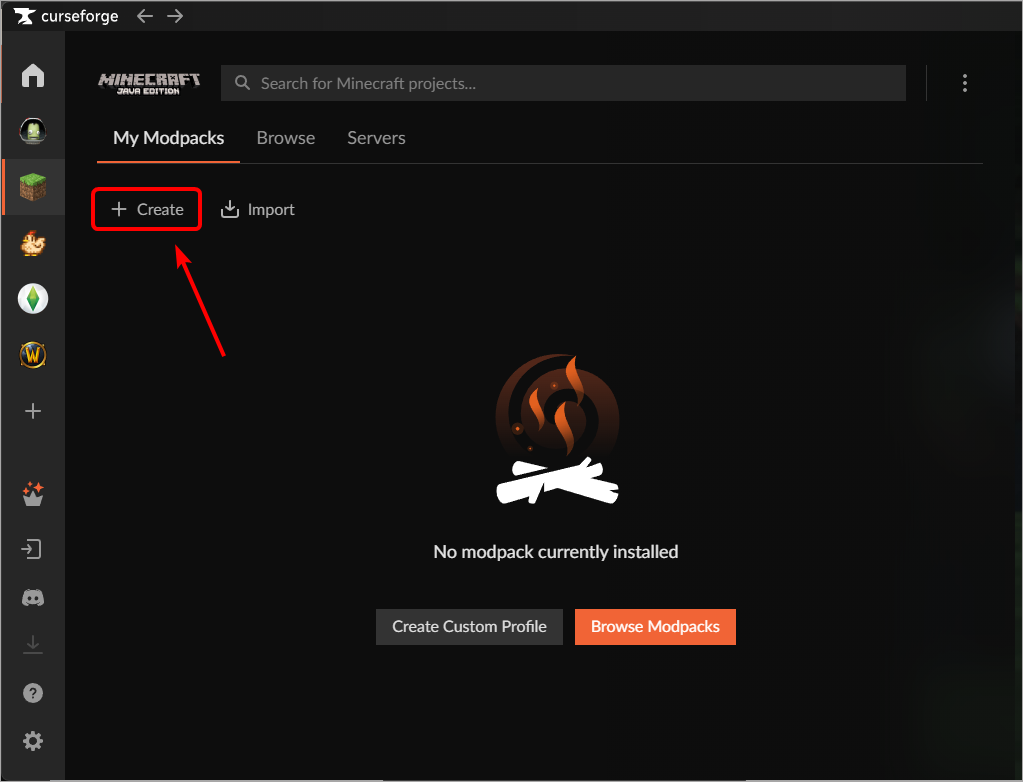
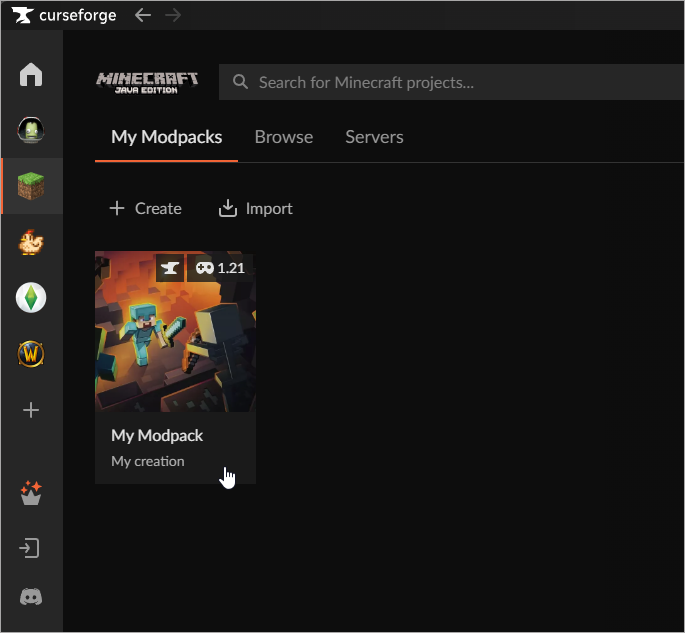
- Open CurseForge and go to the Minecraft tab.
- Click "Create".
- Choose your Minecraft version.
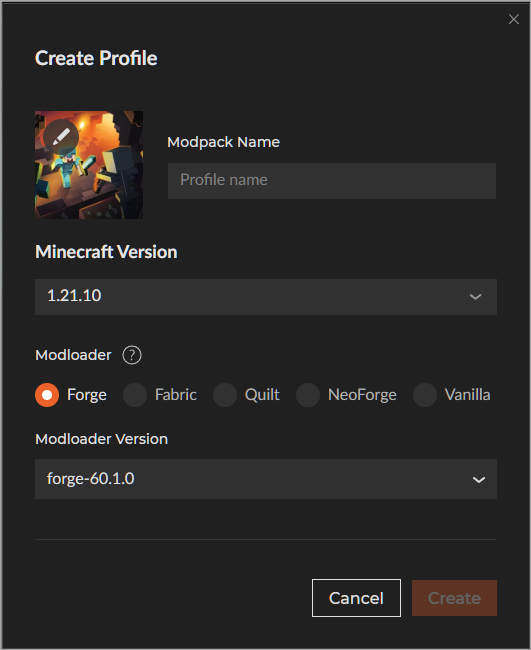
- Select a mod loader (Forge, Fabric, Quilt, or NeoForge).
- Pick the mod loader version (the latest one is usually preselected).
- Name your profile something descriptive like "Survival with Tech Mods".
- Click "Create".
Installing Mods Within an Existing Profile
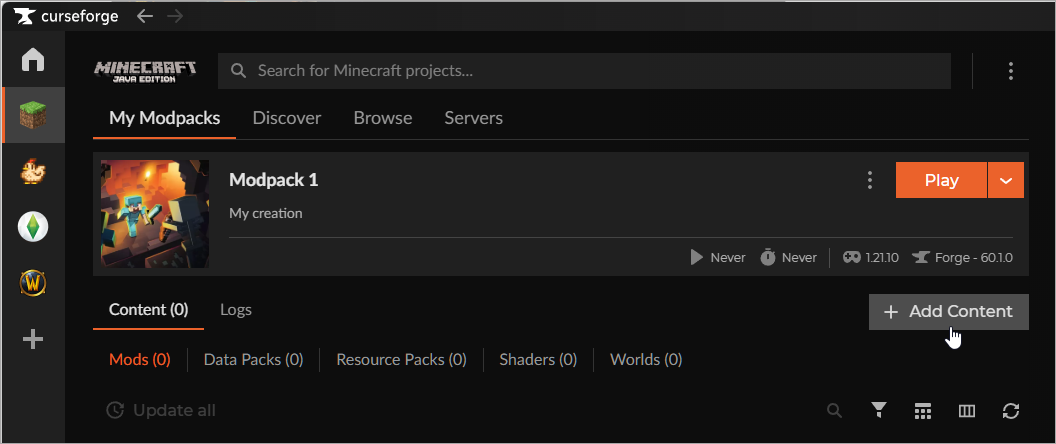
- Open the profile you just created.
- Click "Add Content".
- Search for the mods you want and click Install on each one.
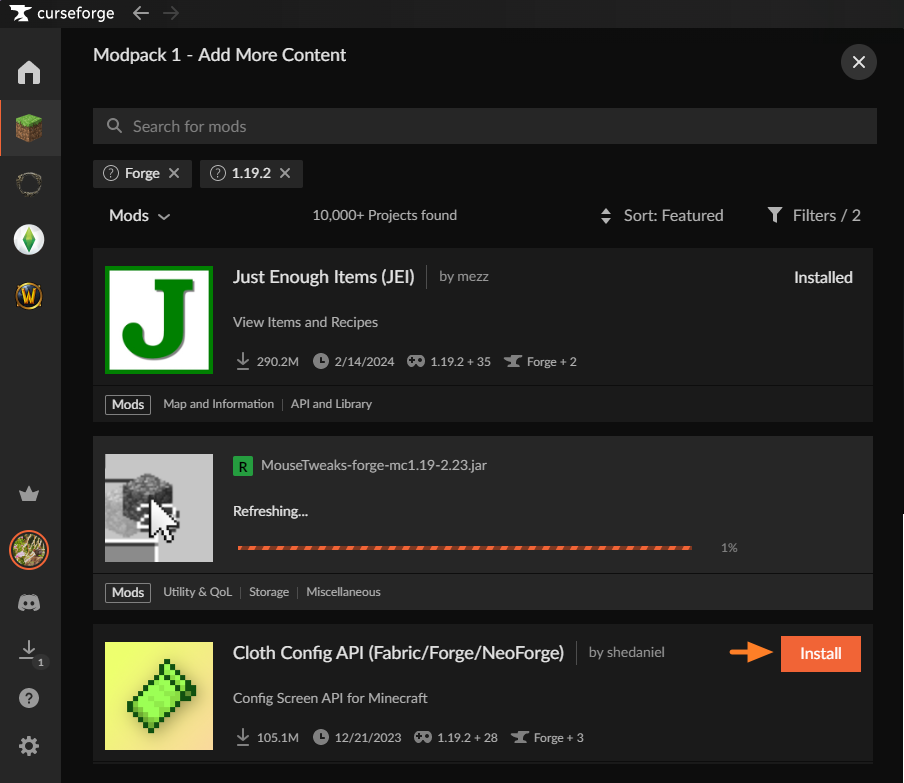
- Make sure mod versions match your Minecraft version and mod loader.
TIP: If you’re using Forge or NeoForge, but also wish to include Fabric mods in the mix, you can install the Sinytra Connector mod. Next, add the Fabric mods by removing the “Forge” filter in the search, click the mod name, and install the correct version inside the “versions” tab. However, please note that these mods are not guaranteed to work properly even with Connector installed.
Alternatively, you can also install a full modpack by browsing CurseForge by modpacks instead of by individual mods.
Importing Your World Into a Profile
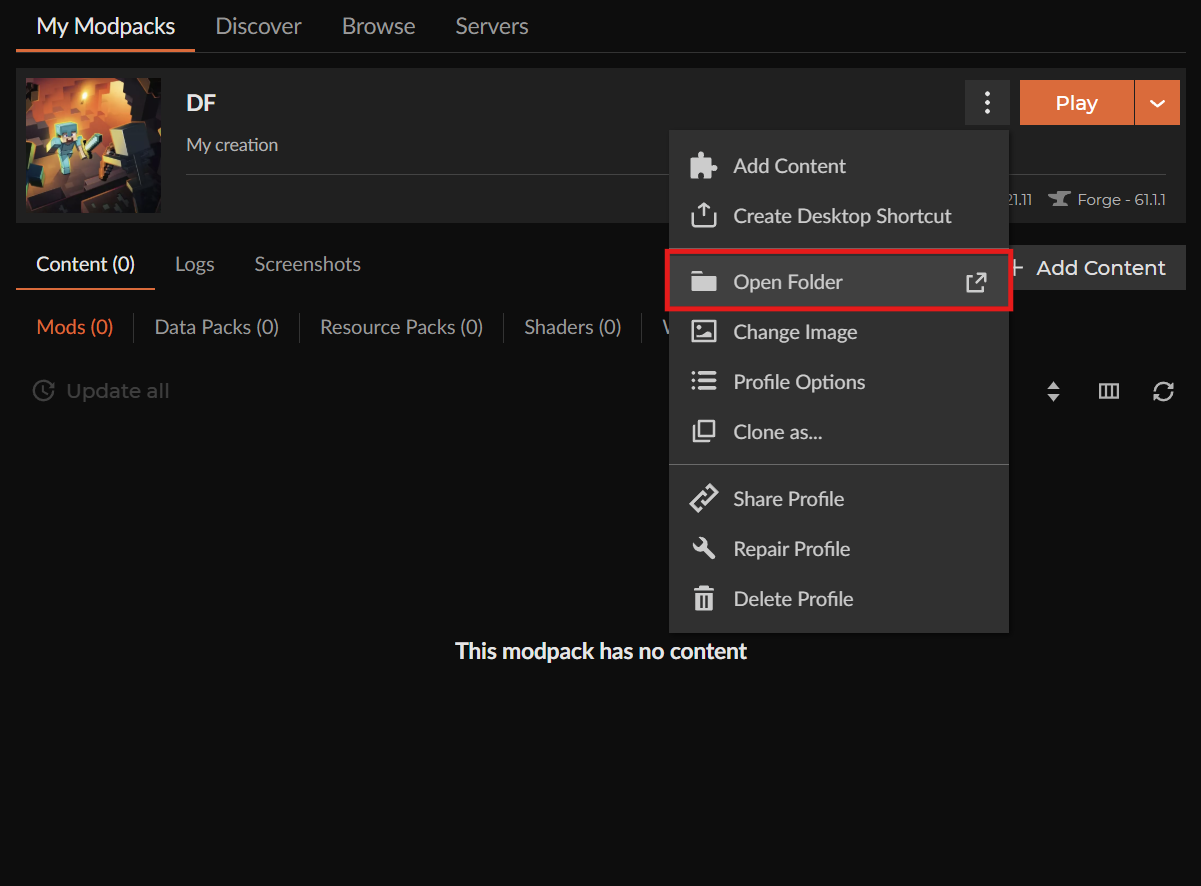
- Right-click your profile (or click the three dots menu).
- Choose "Open Folder".
- Navigate to the game saves folder inside.
- Copy your world folder into the game saves directory.
Tip: Your world folder is the folder named after your world, found in your vanilla Minecraft saves at "%appdata%\.minecraft\saves\" on Windows or "~/Library/Application Support/minecraft/saves/" on macOS.
Launching and Playing Your Modded World
Click "Play" on the profile to run the game through it. The game will then launch with your selected mods loaded, and your world should appear in the world list.
How to Keep a Vanilla Version of the Same World
Want to play the same world both with and without mods? Your solution is to create two separate profiles.
Profile 1: Modded version
- Install your mods.
- Put a copy of the world in this profile's game saves folder.
Profile 2: Vanilla version
- Don't install any mods (or create a Vanilla profile).
- Put another copy of the world in this profile's game saves folder.
Now you have two separate copies. Changes made in the modded version won't affect the vanilla version and vice versa.
Important: These are separate copies. If you build something in the modded world, it won't appear in the vanilla world unless you manually copy the updated world folder over.
What Happens If You Open a Modded World Without Its Mods?
Minecraft will launch, but you'll see:
- Missing blocks: Any blocks added by mods may become invisible or turn into "missing block" placeholders.
- Missing items: Items added by mods may disappear from your inventory and chests.
- Broken functionality: Machines, systems, or features that relied on modded content may stop working.
In some cases, the world may fail to load properly or throw errors, depending on which mods were used. Certain mods create dependencies that prevent worlds from opening without them.
The safest approach? Keep a backup copy of your world before opening it in a different profile. Simply .zip the world folder and store it somewhere safe.
How to Toggle Mods Within a Profile On or Off
CurseForge supports toggling of individual mods on and off within a profile, provided you enable the content management option.
Enabling Content Management
- Right-click your profile (or click the three dots menu).
- Choose "Profile Options".
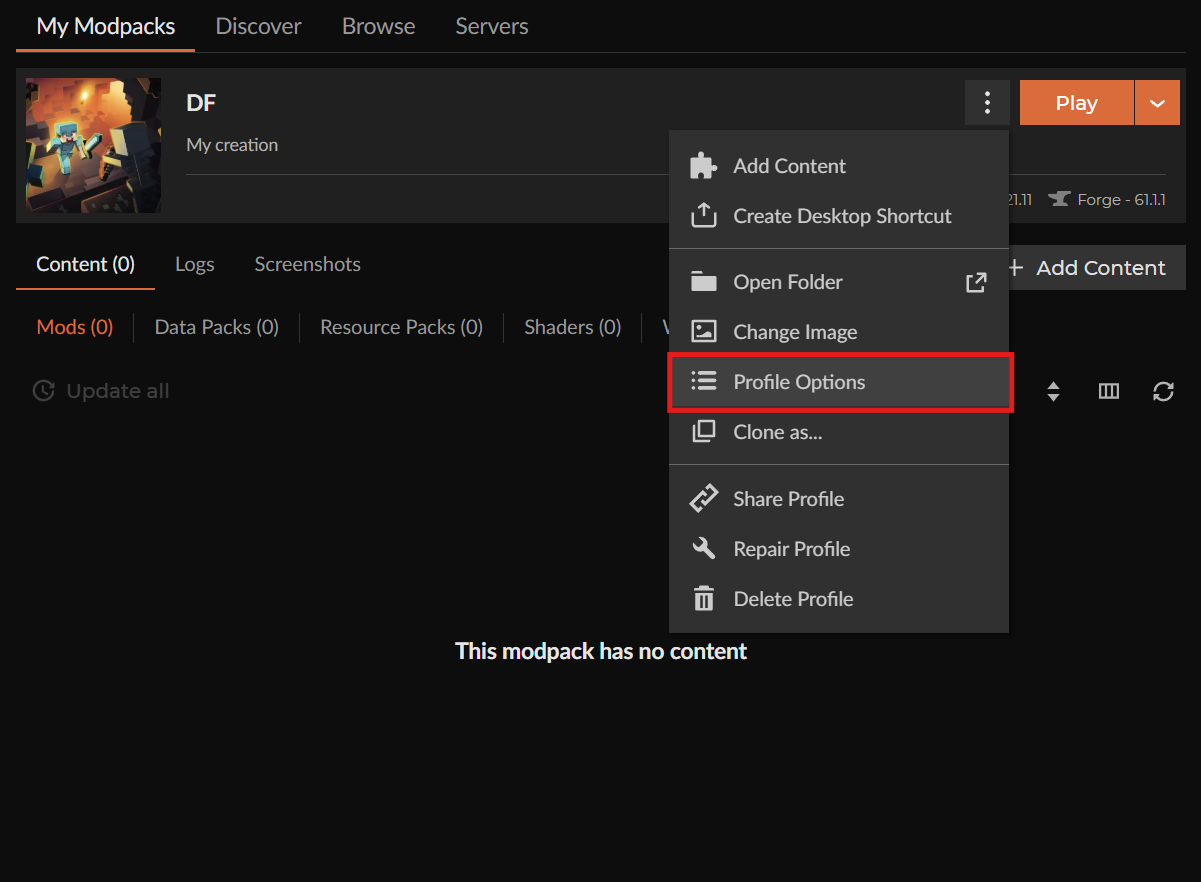
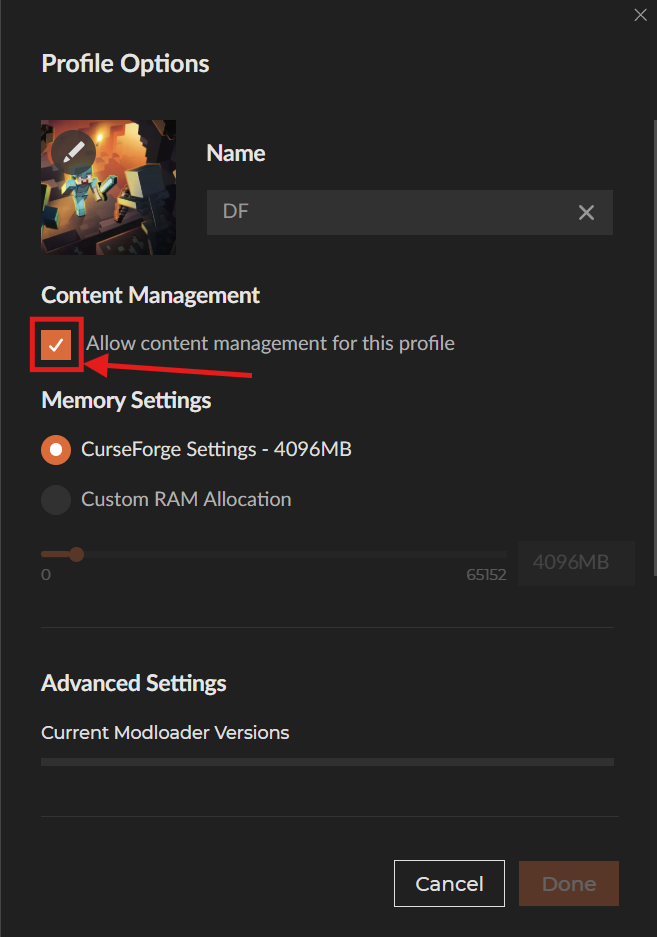
- Enable "Allow content management for this profile".
Toggling Mods
- Open your profile.
- Click on "Content" → "Mods".
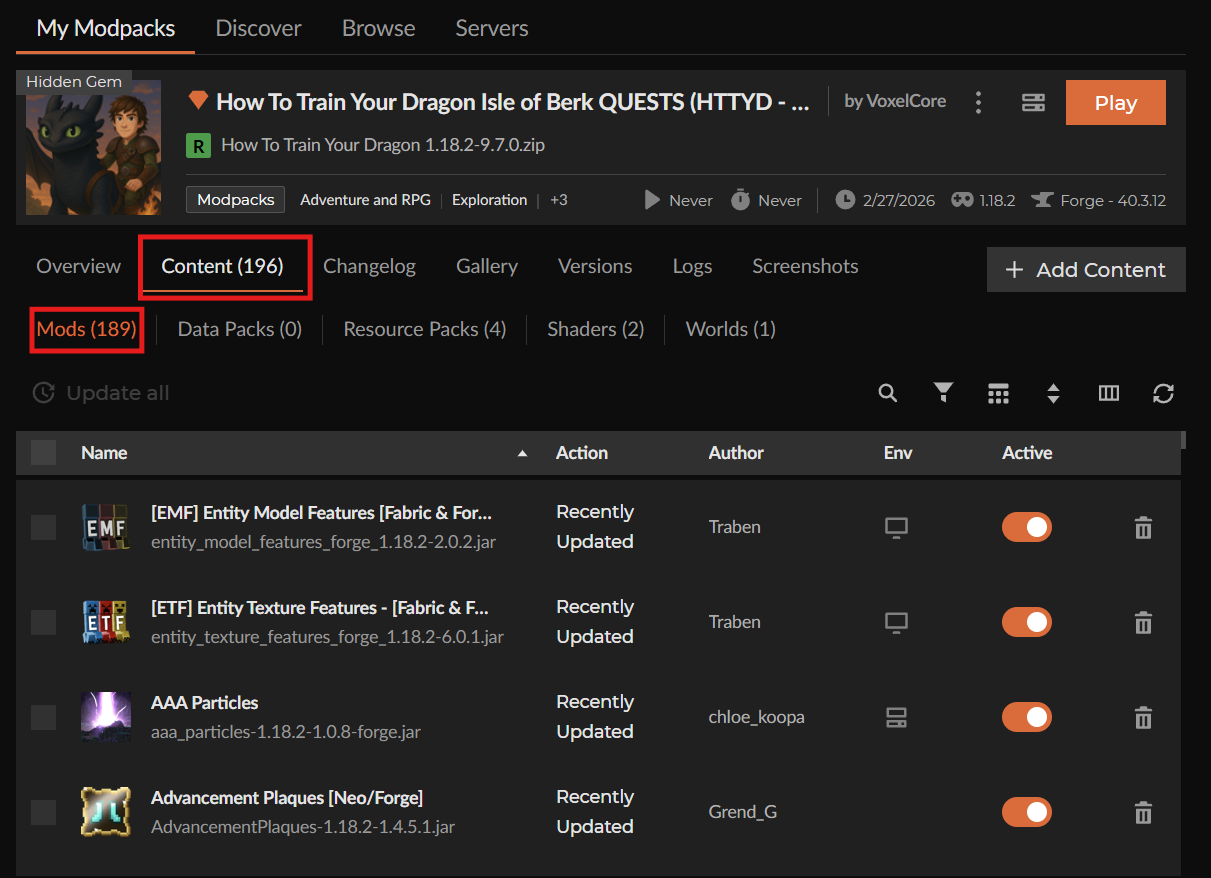
- Use the toggle switches next to each mod to enable or disable it.
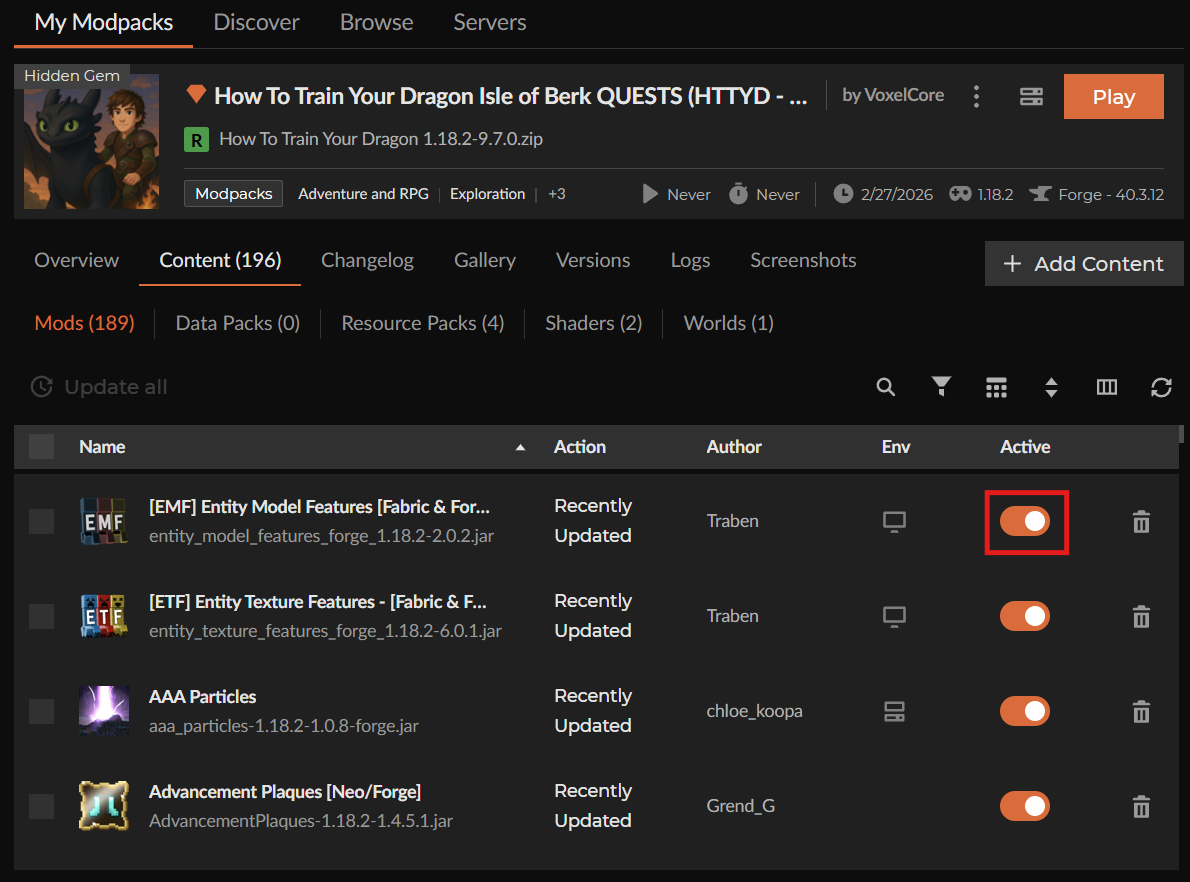
Now, disabled mods shouldn’t load when you launch the game. This works well for testing which mod is causing crashes or for briefly deactivating performance-heavy mods.
Note: This would only toggle mods on or off within a specific profile. This means that you won’t be able to enable mods for just one world while keeping them disabled for other worlds while using the same profile. For true per-world control, you would still need to create separate profiles.
TIP: Remember to backup your profile before making any change as disabling, updating, or even adding more mods inside an already modded world may corrupt it. If in doubt, feel free to reach out to our outgoing community in the CurseForge Discord Server.
Using Data Packs for Per-World Changes
If you just want to tweak loot tables, recipes, functions, or structures for one world, data packs are a better fit as they live inside the world folder itself:

How to install a data pack with the CurseForge App
- Open CurseForge → Minecraft and create a profile with the mod loader and version you need (Fabric, Quilt, NeoForge, or Forge).
- In the profile screen, click "Add Content" (or open the three dots menu and choose "Add Content").
- Search for the data pack you need and click "Install".
How to install a data pack Manually
- Download the data pack (usually a .zip file) from CurseForge.
- Open your world folder in "saves/YourWorldName/".
- Place the .zip file (or extracted folder) into the datapacks subfolder.
Data packs typically won't require Forge or Fabric as they are compatible with vanilla Minecraft. However, they can't add new blocks, items, or mobs – only modify existing game behavior.
For the full modding experience (new content, mechanics, systems), you would still need to install actual mods and manage separate profiles.
Best Practices for Managing Modded Worlds
Following a few organizational habits can save you lots of headaches down the line. Here are some tips that could make managing multiple modded worlds much easier:
- Use descriptive profile names. Something like "Survival Tech Mods 1.20.1" tells you exactly what's in that profile at a glance. When you're managing ten different profiles, you'll appreciate not having to remember which "Profile 3" contains what.
- Back up your worlds before making changes. Zip the world folder and store it somewhere safe before experimenting with new mods or updating existing ones. If something breaks or you don't like the results, you can resort to your backup instead of losing progress.
- Stick to one modpack per profile. Modpacks are designed as complete, self-contained experiences with mods that work together. Mixing multiple modpacks within one profile almost always causes conflicts since they weren't built to co-exist.
- Test new mods in a copied profile first. If you're adding mods to a profile that contains an important world, create a test profile first and copy the world there. Next, add the mods and make sure everything launches properly before adding them to your main profile.
- Don’t forget about version compatibility. Mods built for Minecraft 1.20.1 won't work in 1.20.4. Forge mods won't work with Fabric. A good practice here is to check the "Files" tab on each mod's CurseForge page to see which Minecraft versions and mod loaders it supports before installing.
Common Issues and Quick Fixes
My Game Won't Launch After Adding Mods
This is likely due to version mismatch. Check that:
- Your Minecraft version matches the mod version.
- Your mod loader (Forge/Fabric/NeoForge) matches what the mod requires.
- Your mod loader version is compatible with the mod.
You could also reference the "Files" tab on the mod's CurseForge page to see which versions it officially supports.
My World Loads But Some Content Is Missing
You probably opened a modded world from the incorrect profile. The mods that added those blocks and items aren't therefore loaded.
To fix this, switch to the correct profile or restore the world from a backup.
Mods Create Conflicts or Crash the Game
Some mods simply don't work together. Common conflicts happen when:
- Two mods modify the same game system.
- A mod requires a dependency that's missing.
- Mods are from incompatible versions.
You could remove mods one at a time to isolate which one causes the problem. Check the mod's CurseForge page as well for known conflicts and required dependencies.
My Profile Won't Accept a Mod
The mod and profile must match on two things:
- Minecraft version: A 1.20.1 mod won't install in a 1.19.2 profile.
- Mod loader: A Forge mod won't work within a Fabric profile.
To fix this, create a new profile with the correct Minecraft version and mod loader if needed.