Potions are easy to ignore early on in Minecraft, but they become some of the most useful tools once you start exploring harder areas. Fire Resistance can save a Nether trip, Slow Falling can prevent a bad End mistake, and Strength or Healing can change how prepared you feel before a boss fight.
The system looks confusing at first because every potion depends on the right base, ingredient order, and upgrade choice. Once you understand how the brewing stand works, the recipes become much easier to follow.
This guide will walk you through the materials you need, the main brewing steps, the most useful survival potions, and a few mods that make potion management, recipe viewing, and magic-style alternatives all the more convenient.
What You Need to Start Brewing
Before you start roleplaying as a witch, you’ll need to do some shopping first. Here’s what you’ll need for successful potion making.
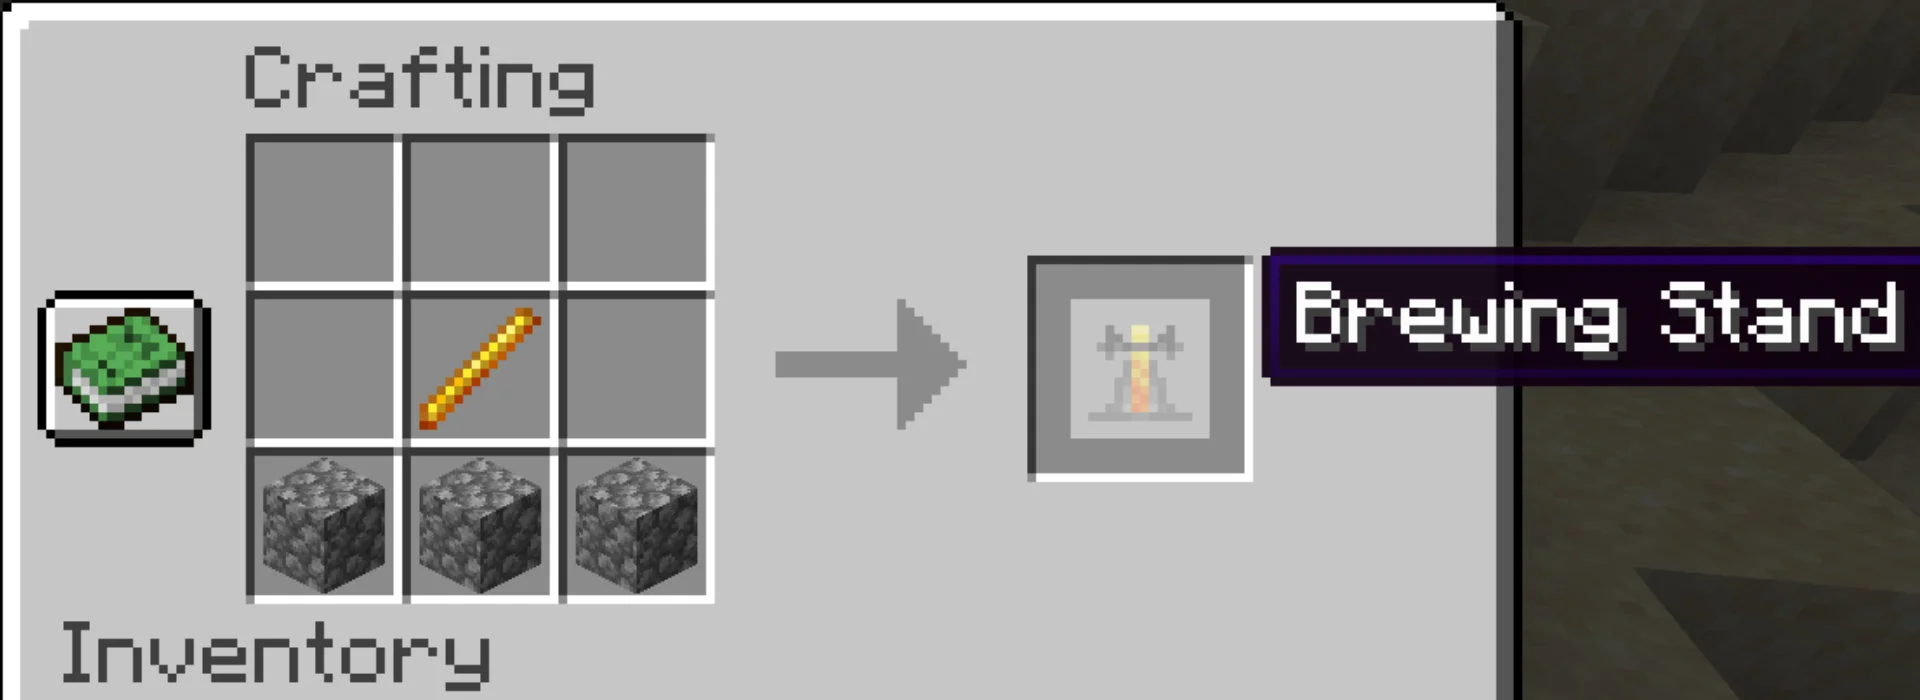
- Brewing stand: Crafted from 1 blaze rod and 3 cobblestones. Place the three cobblestones across the bottom row and the blaze rod in the center. Blaze rods drop from blazes in Nether fortresses.
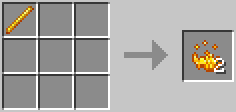
- Blaze powder: Craft from a blaze rod – 1 rod gives 2 blaze powder. Load blaze powder into the fuel slot of the brewing stand. One piece of blaze powder lasts 20 brewing operations.
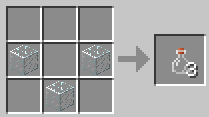
- Glass bottles: Craft from glass in a V shape at a crafting table – 3 glass gives 3 bottles. Fill them by right-clicking a water source or cauldron.
- Nether Wart: Found in Nether fortress staircases. This is the base ingredient for almost every potion in the game.
The Three-Step Brewing Process Explained
Step 1: Make an Awkward Potion
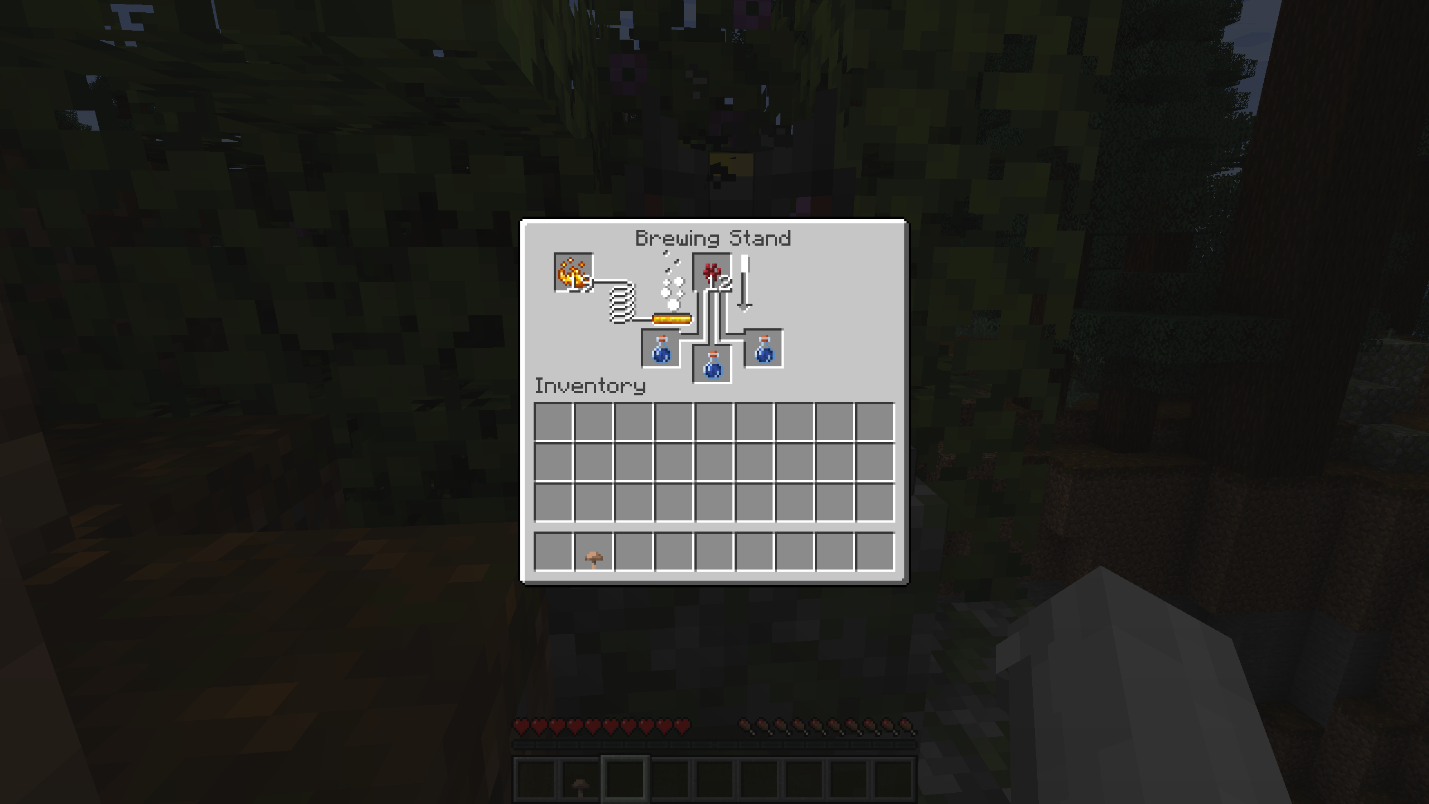
Place blaze powder in the brewing stand’s fuel slot, then place up to three water bottles in the bottom slots. Put nether Wart in the top ingredient slot and wait for 20 seconds. This creates Awkward Potions – they have no effect on their own but are the base for almost everything else.
Step 2: Add the Effect Ingredient
Replace the nether wart with a specific ingredient and brew again. Each ingredient produces a different potion type:
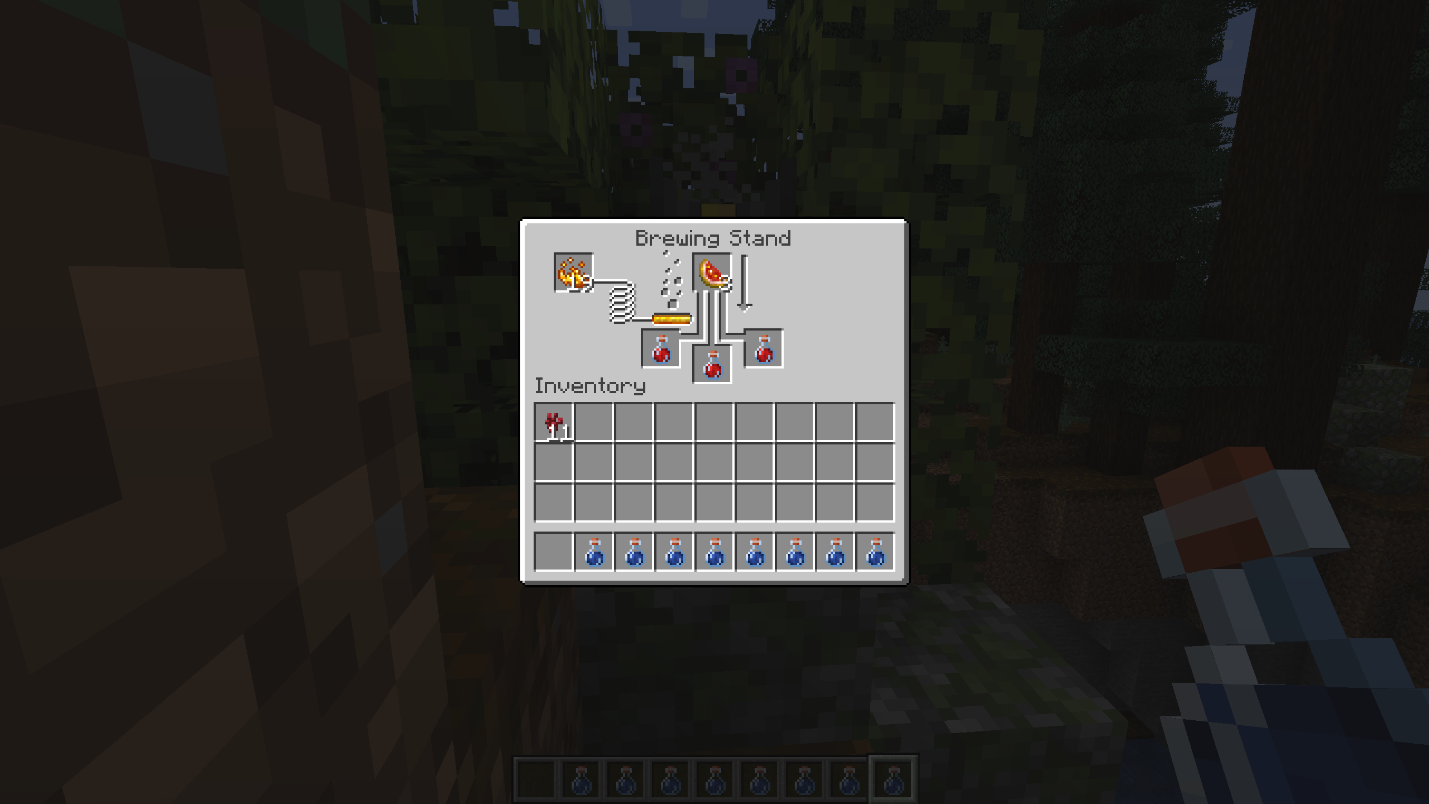
- Glistering Melon Slice → Potion of Healing: Restores 2 hearts instantly. You can craft it with 1 melon slice surrounded by 8 gold nuggets, or get it from ruined portal chests and some farmer villager trades.
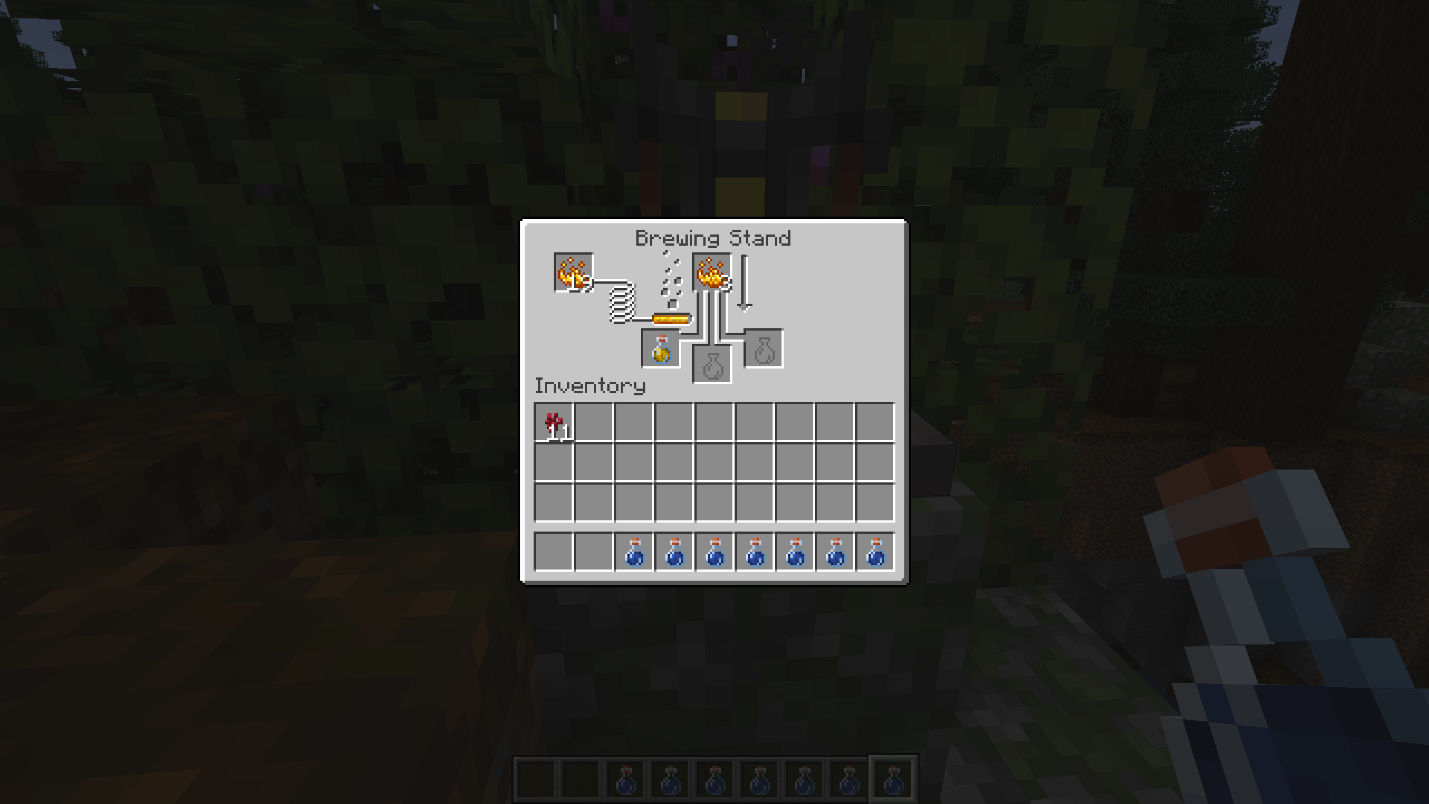
- Blaze Powder → Potion of Strength: Adds 1.5 hearts of melee damage per hit. You can craft blaze powder from blaze rods, which drop from blazes in Nether fortresses.
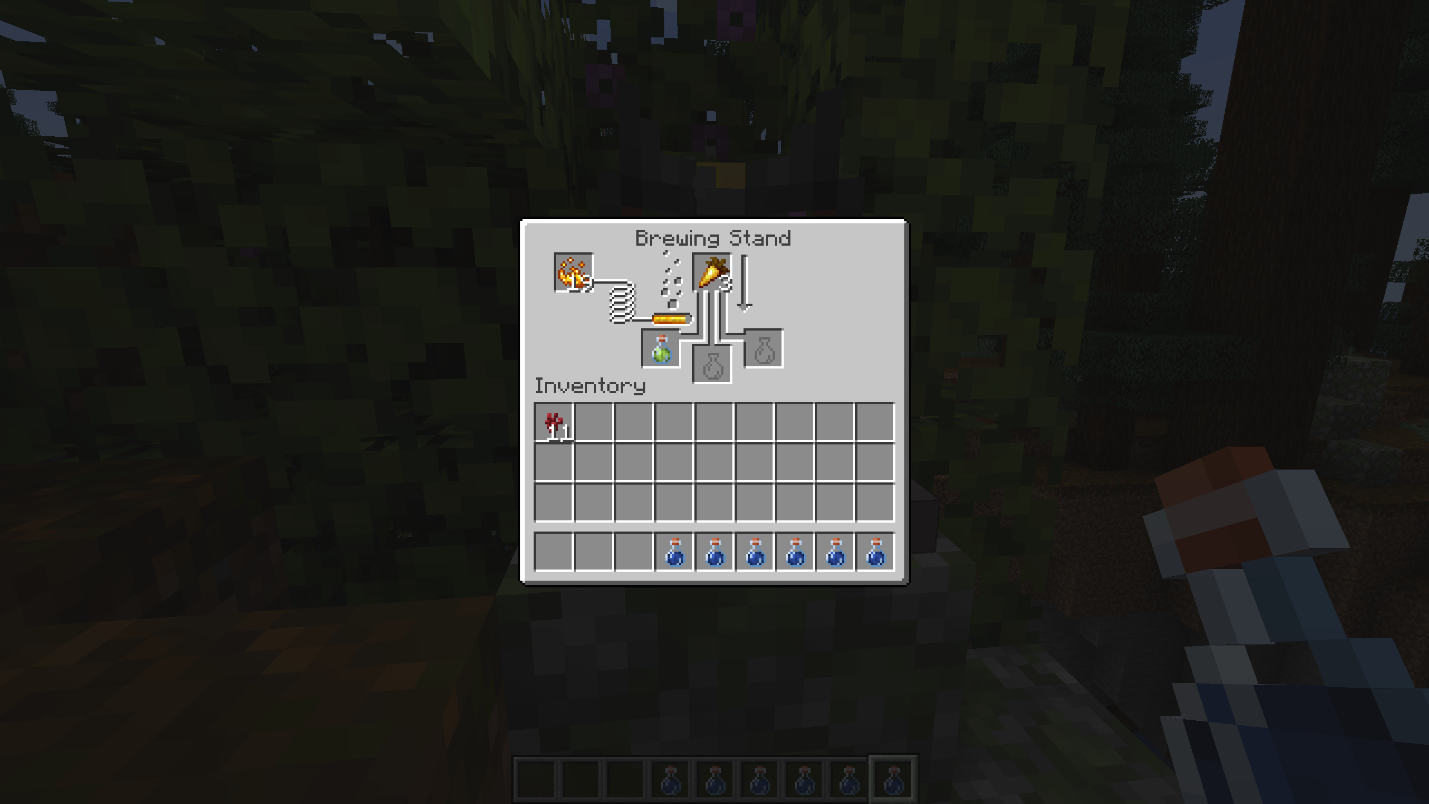
- Golden Carrot → Potion of Night Vision: Gives full visibility in darkness for the next 3 minutes. You can craft it with 1 carrot surrounded by 8 gold nuggets, or get it through farmer villager trades.
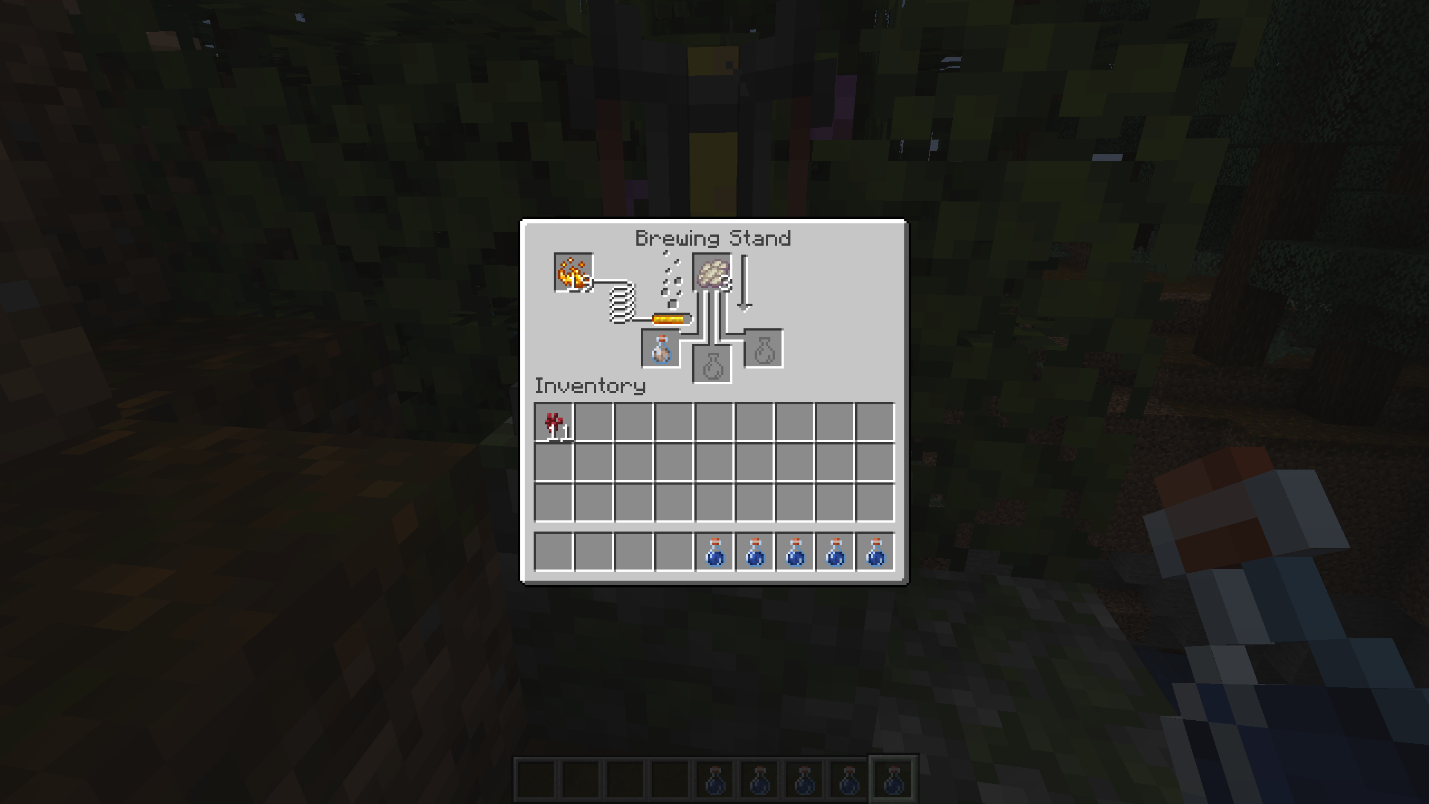
- Phantom Membrane → Potion of Slow Falling: Prevents fall damage for 1 minute and 30 seconds. You can get phantom membranes from phantoms, and tamed cats can sometimes also bring them as gifts.
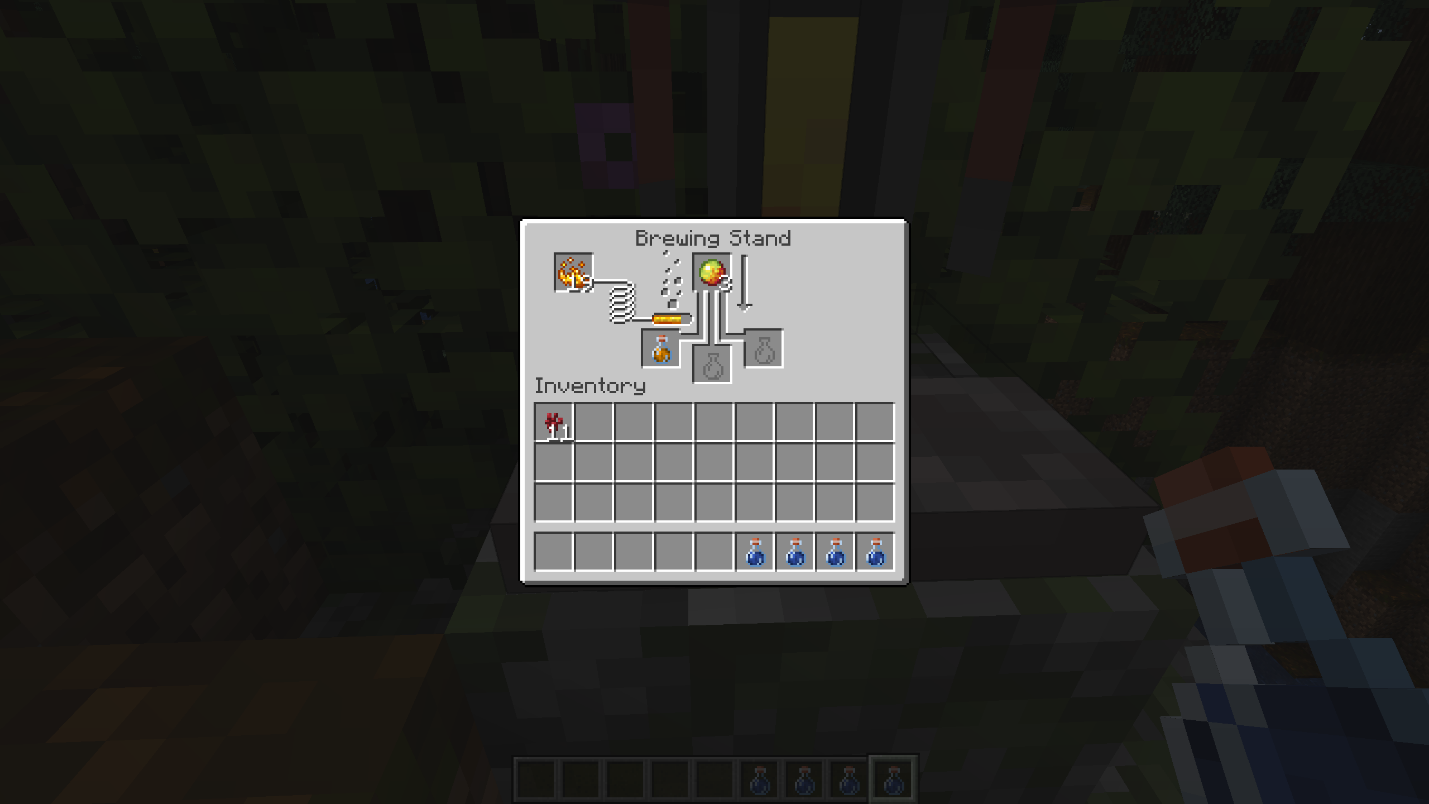
- Magma Cream → Potion of Fire Resistance: Gives immunity to fire and lava for the next 3 minutes. You can get it from magma cubes, or craft it with slimeball and blaze powder.
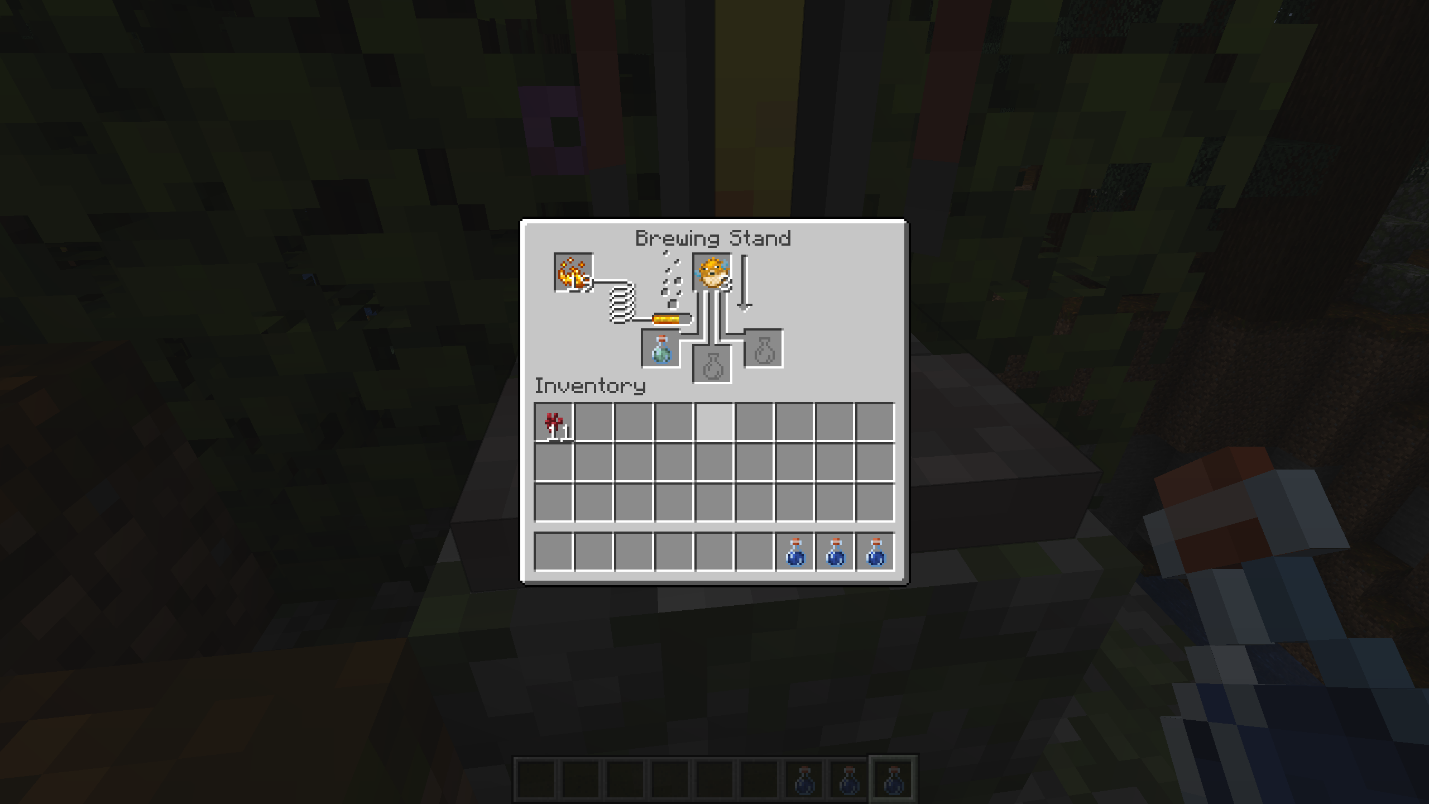
- Pufferfish → Potion of Water Breathing: Lets you breathe underwater for the next 3 minutes. You can catch pufferfish by fishing or collecting them in a water bucket from warm ocean areas.
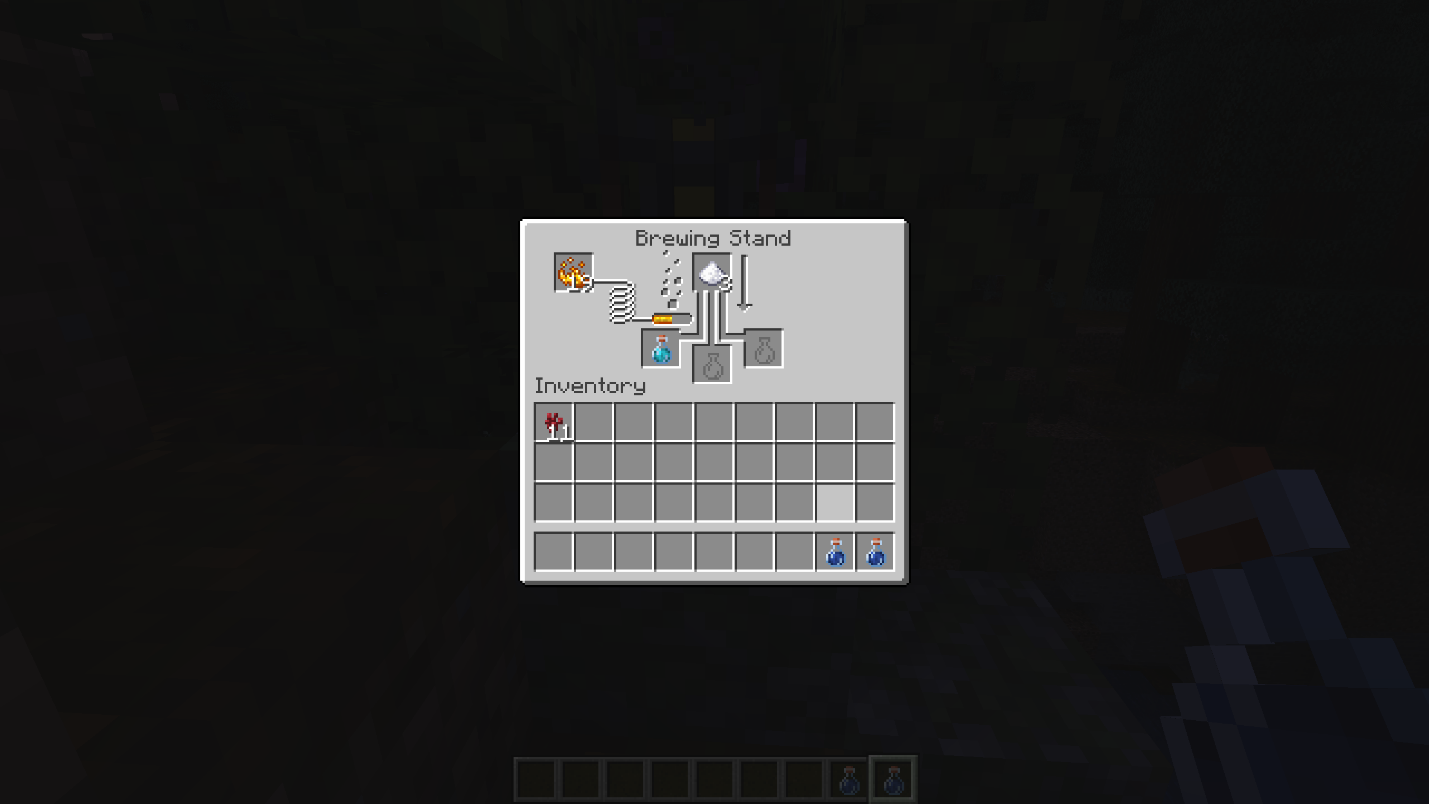
- Sugar → Potion of Swiftness: Increases movement speed. You can craft sugar from sugar cane or honey bottles.
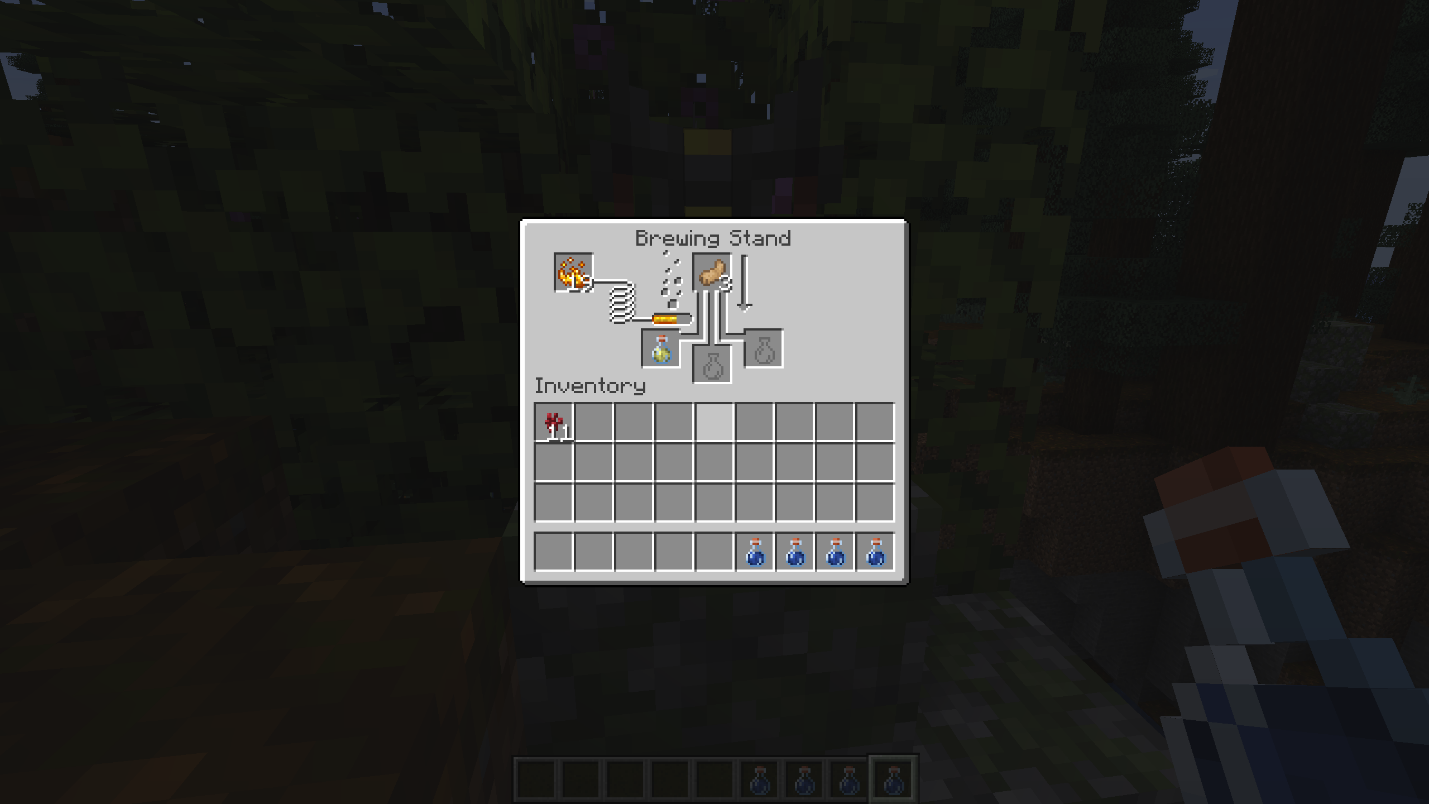
- Rabbit's Foot → Potion of Leaping: Increases jump height. You can obtain rabbit’s foot from rabbits as a rare drop.
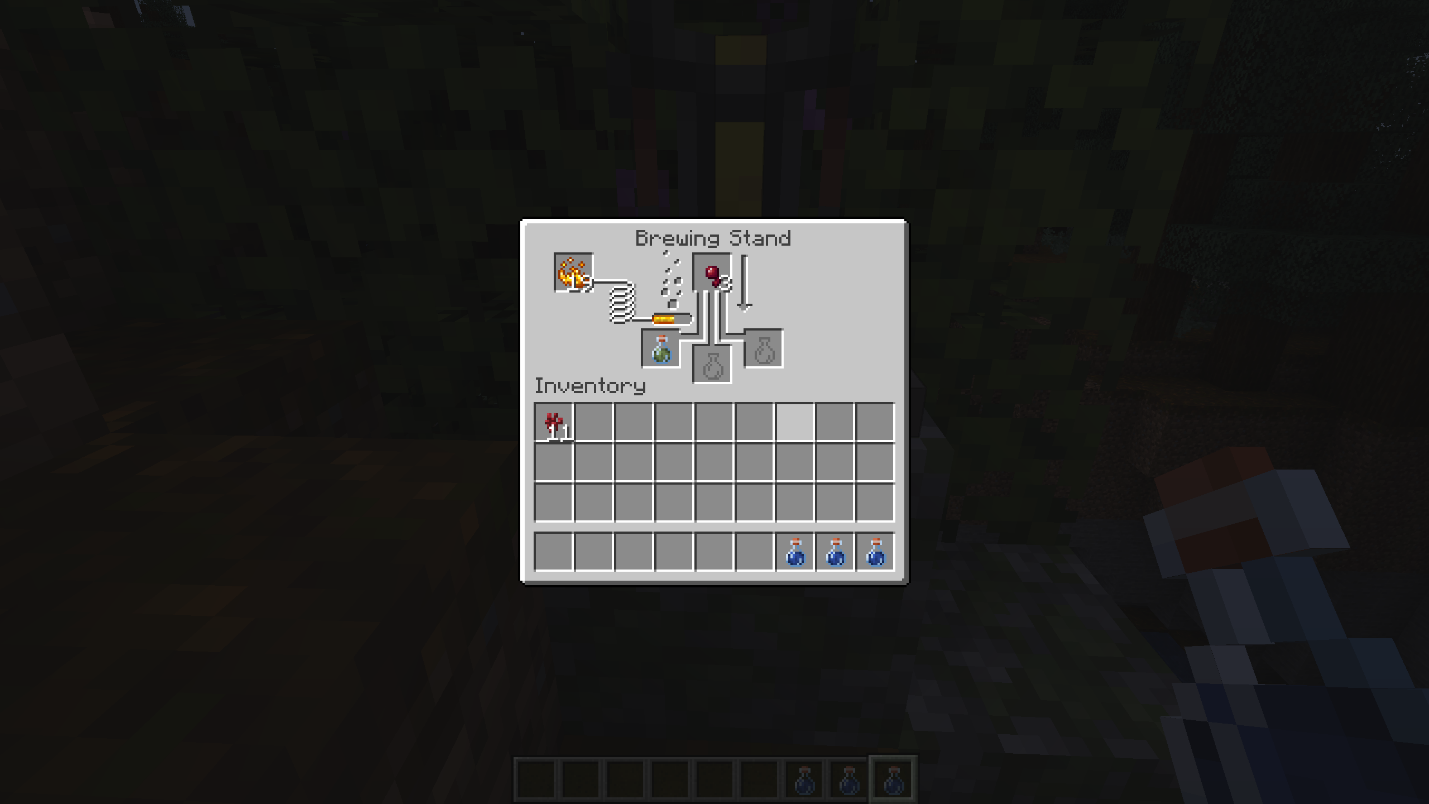
- Spider Eye → Potion of Poison: Deals damage over time. You can obtain spider eyes as drops from both spiders and cave spiders.
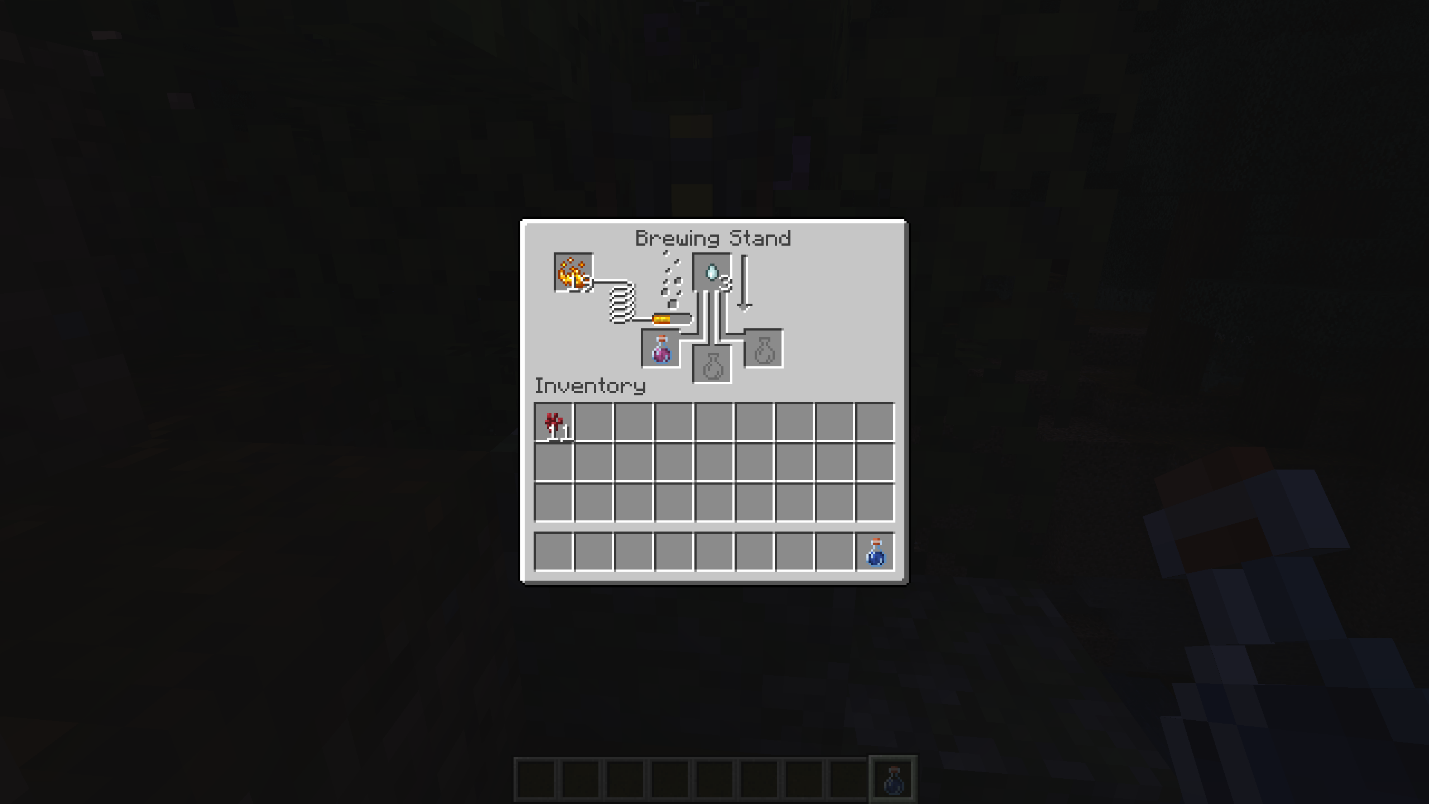
- Ghast Tear → Potion of Regeneration: Restores half a heart every 2.5 seconds. You can farm ghast tears from ghasts in the Nether.
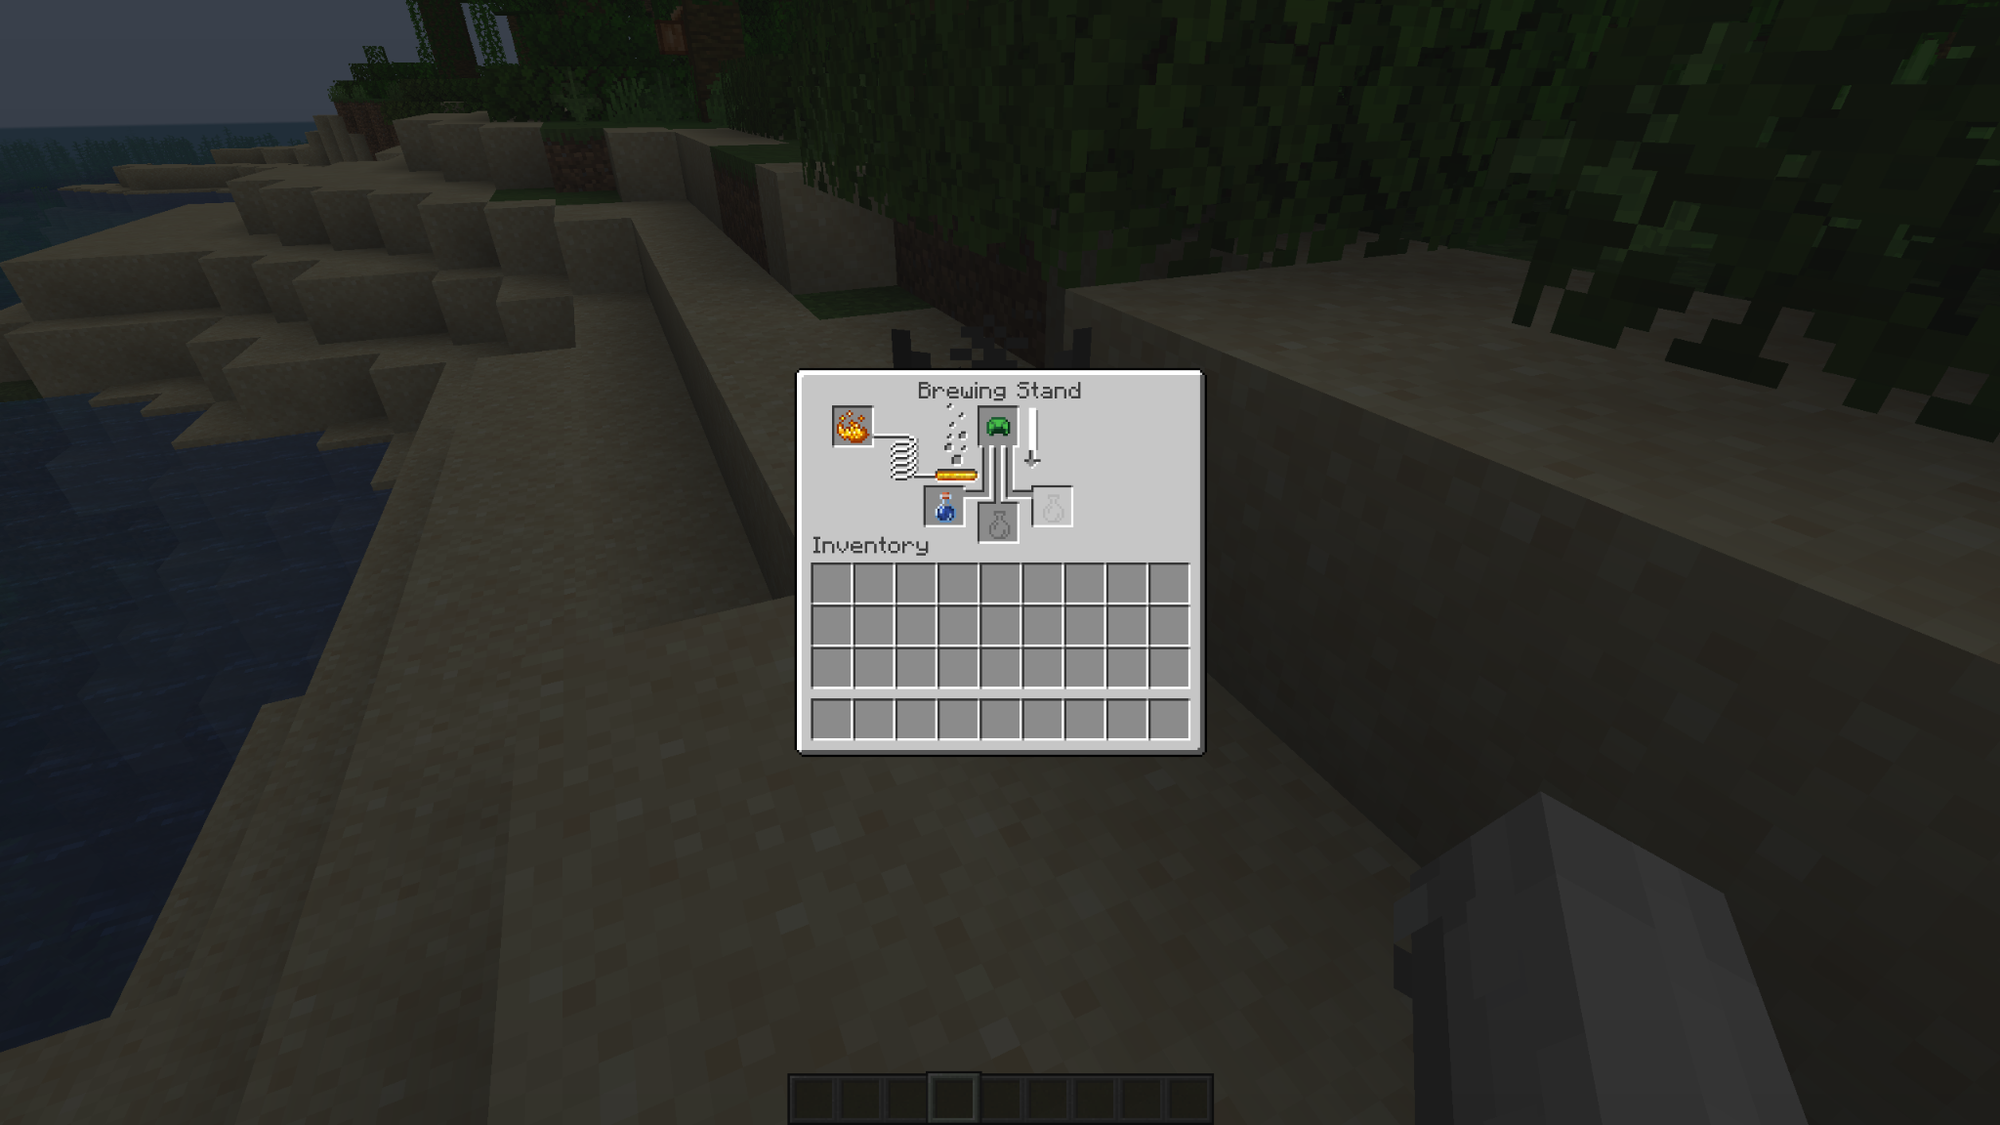
- Turtle Shell → Potion of the Turtle Master: Gives Slowness IV and Resistance III for the next 20 seconds, making you much slower but much harder to damage. You can brew it by adding a turtle shell to an Awkward Potion. As for turtle shells, you can craft them from 5 turtle scutes, which baby turtles drop when they grow into adults.
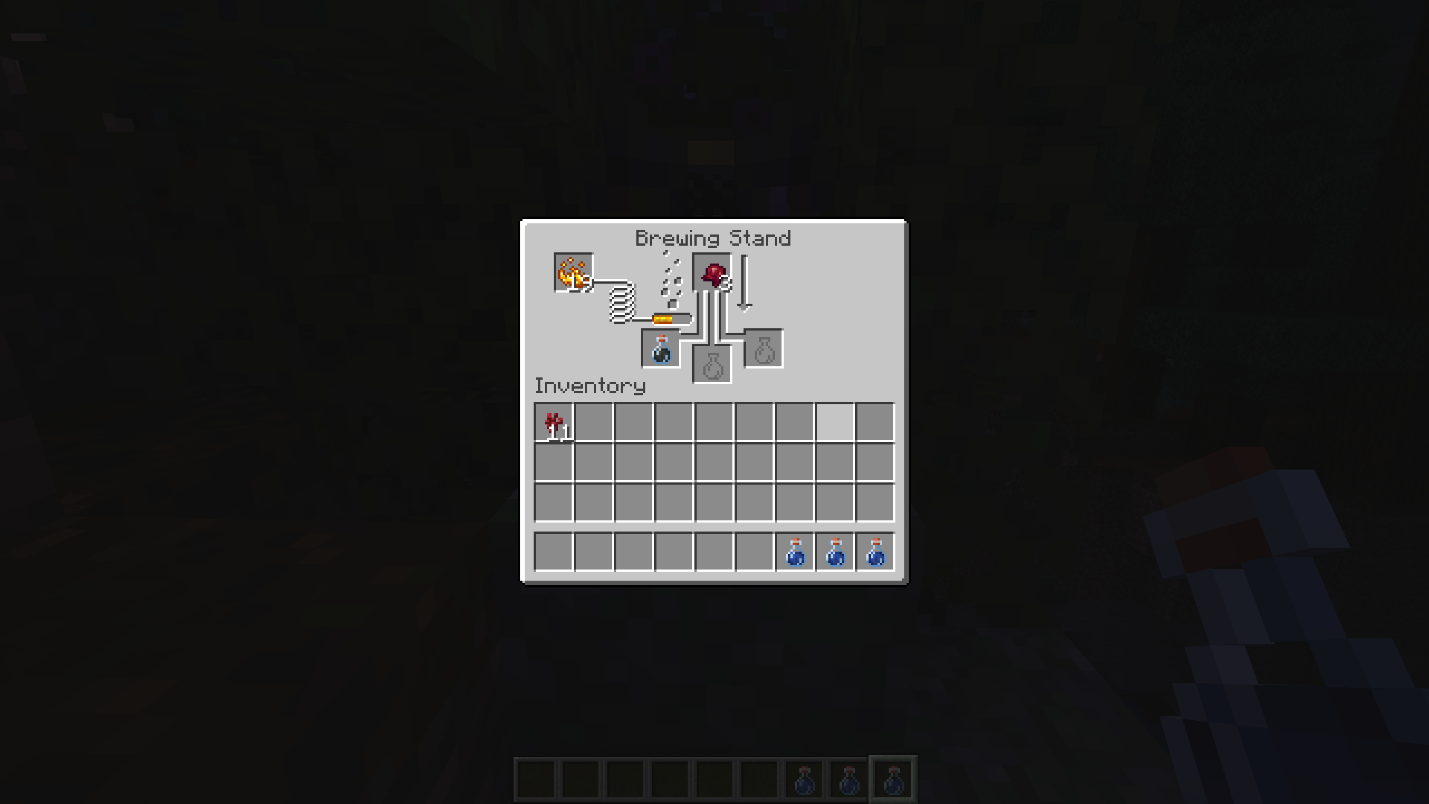
- Fermented Spider Eye → Potion of Weakness: Reduces all incoming melee attack damage for the next 1 minute and 30 seconds. Potion of Weakness is the main exception to the normal brewing chain because you can brew it by adding fermented spider eye directly into a water bottle and not an Awkward Potion.
You can craft fermented spider eye from spider eye, sugar, and brown mushroom. This potion is especially useful because a Splash Potion of Weakness is needed, along with a golden apple, to cure a zombie villager.
Step 3: Upgrade the Potency with Redstone or Glowstone
This step is optional but usually worth it.
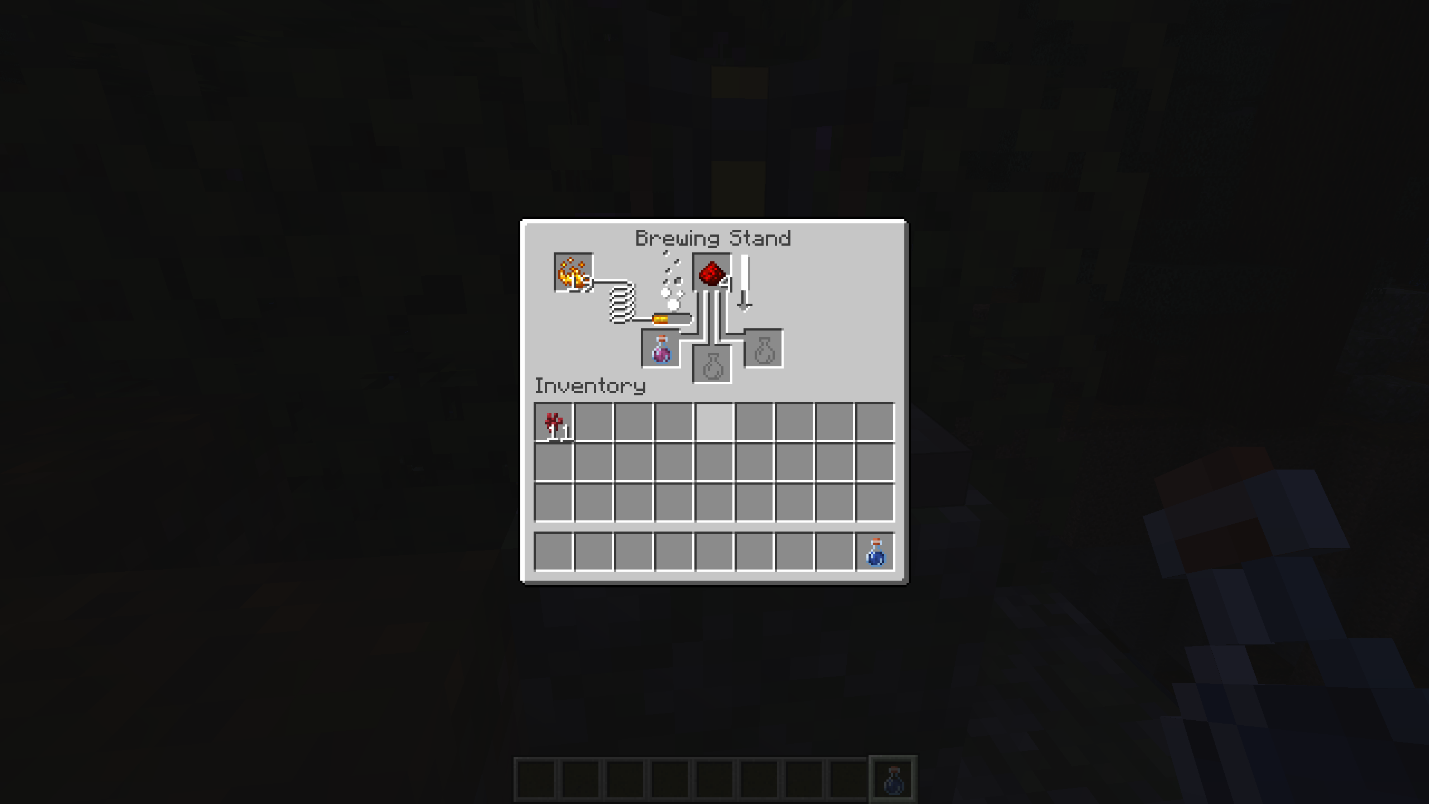
- Redstone Dust extends the potion's duration. Night Vision goes from 3 minutes to 8 minutes. Slow Falling goes from 1:30 to 4 minutes. Fire Resistance and Water Breathing also get extended with redstone. Instant potions like healing can't be extended – they work immediately and have no duration.
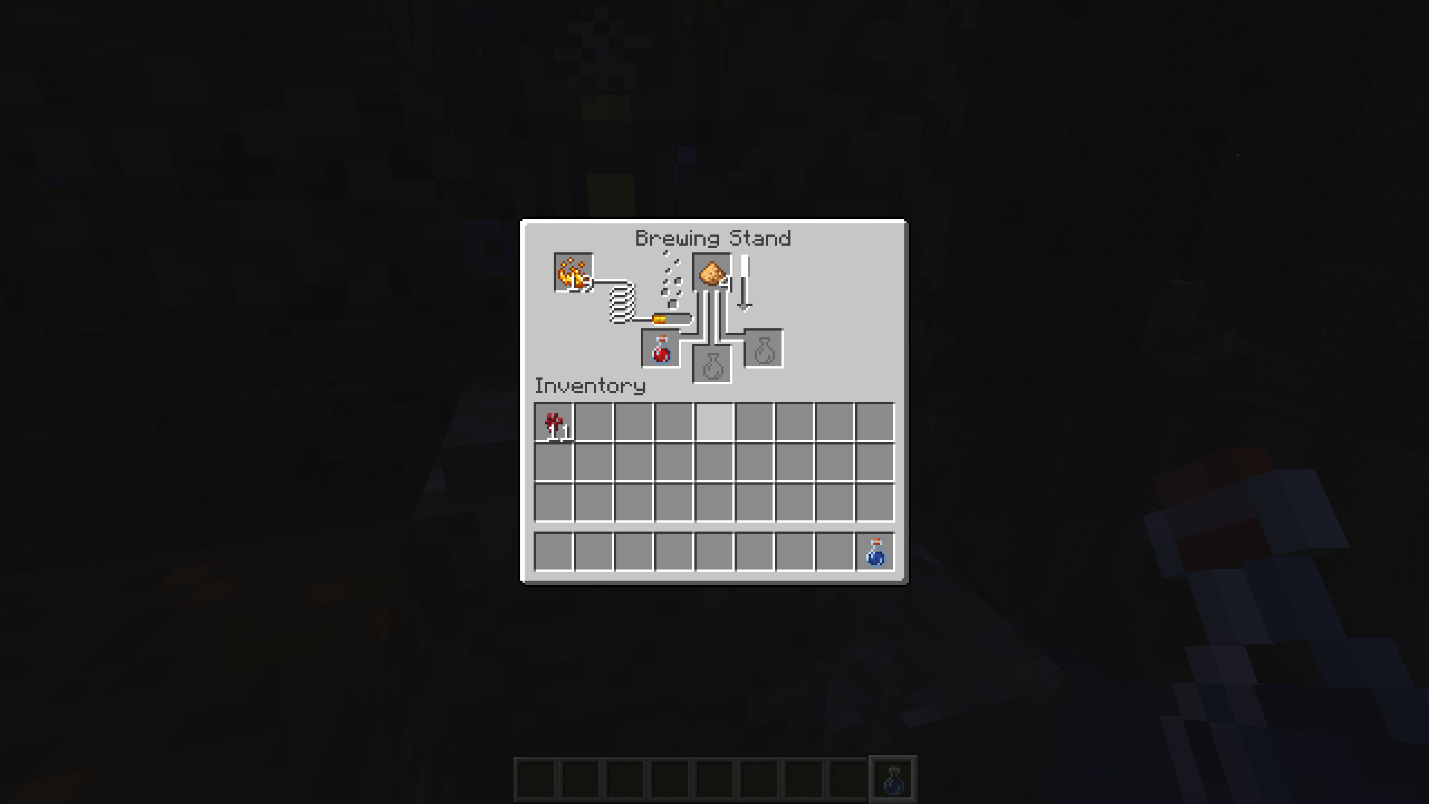
- Glowstone Dust increases the potion's strength level. Healing I becomes Healing II, restoring 8 health points instead of 4. Strength I becomes Strength II, adding 6 melee damage instead of 3. Glowstone typically reduces duration when it increases strength, and not every potion has a level II – Night Vision and Fire Resistance for example don't have stronger versions.
Important: You can't apply both redstone and glowstone to the same potion. It's either extended duration or higher strength, so you’ll need to pick one.
Converting to Splash and Lingering Potions
Add gunpowder to any potion to convert it into a Splash Potion.
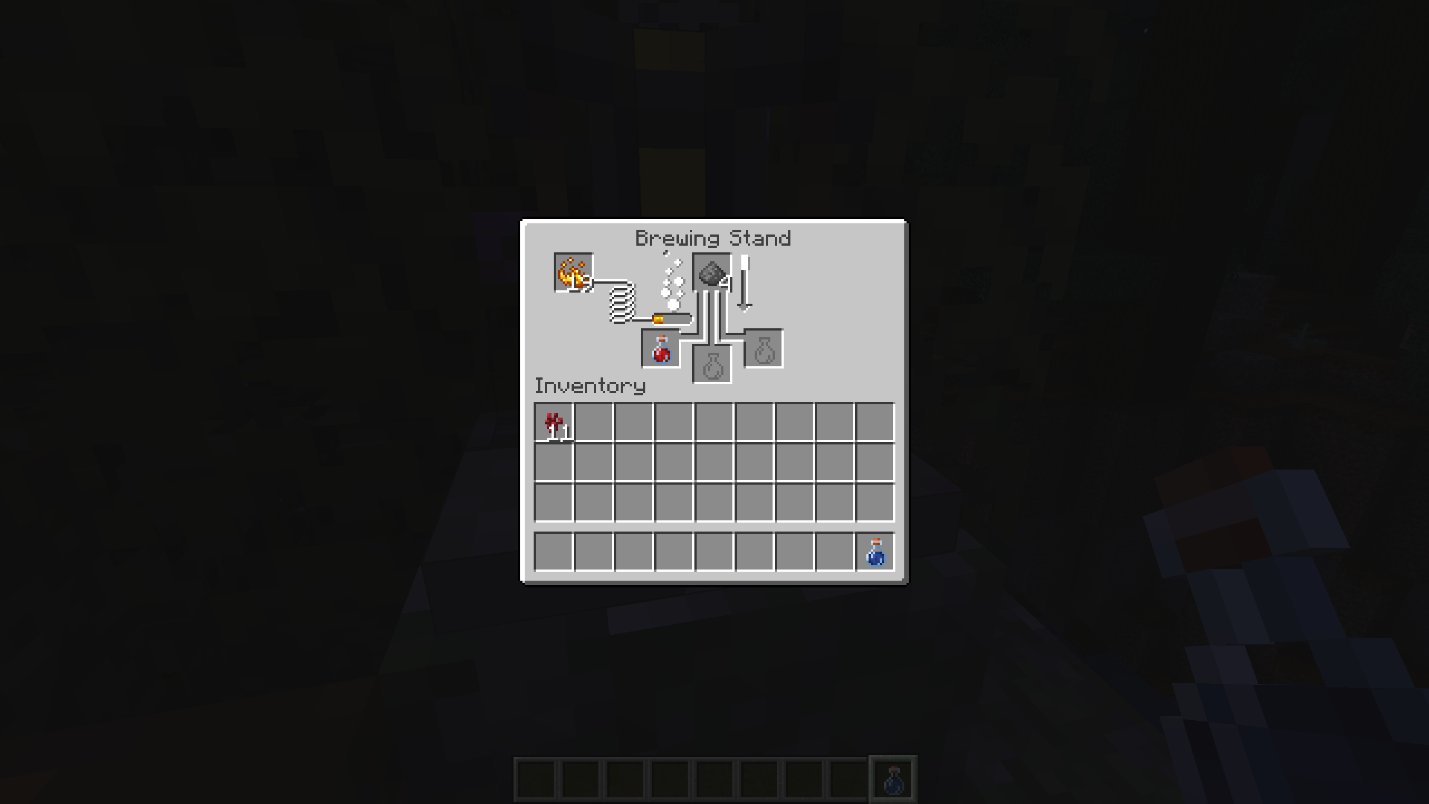
Splash Potions are thrown like snowballs and affect anyone in the area when they land. This works for both offensive potions like Harming and Poison, and helpful ones like Healing – useful when you want to heal multiple players at once.
If you want to go even further, add dragon's breath to a splash potion to make a Lingering Potion.
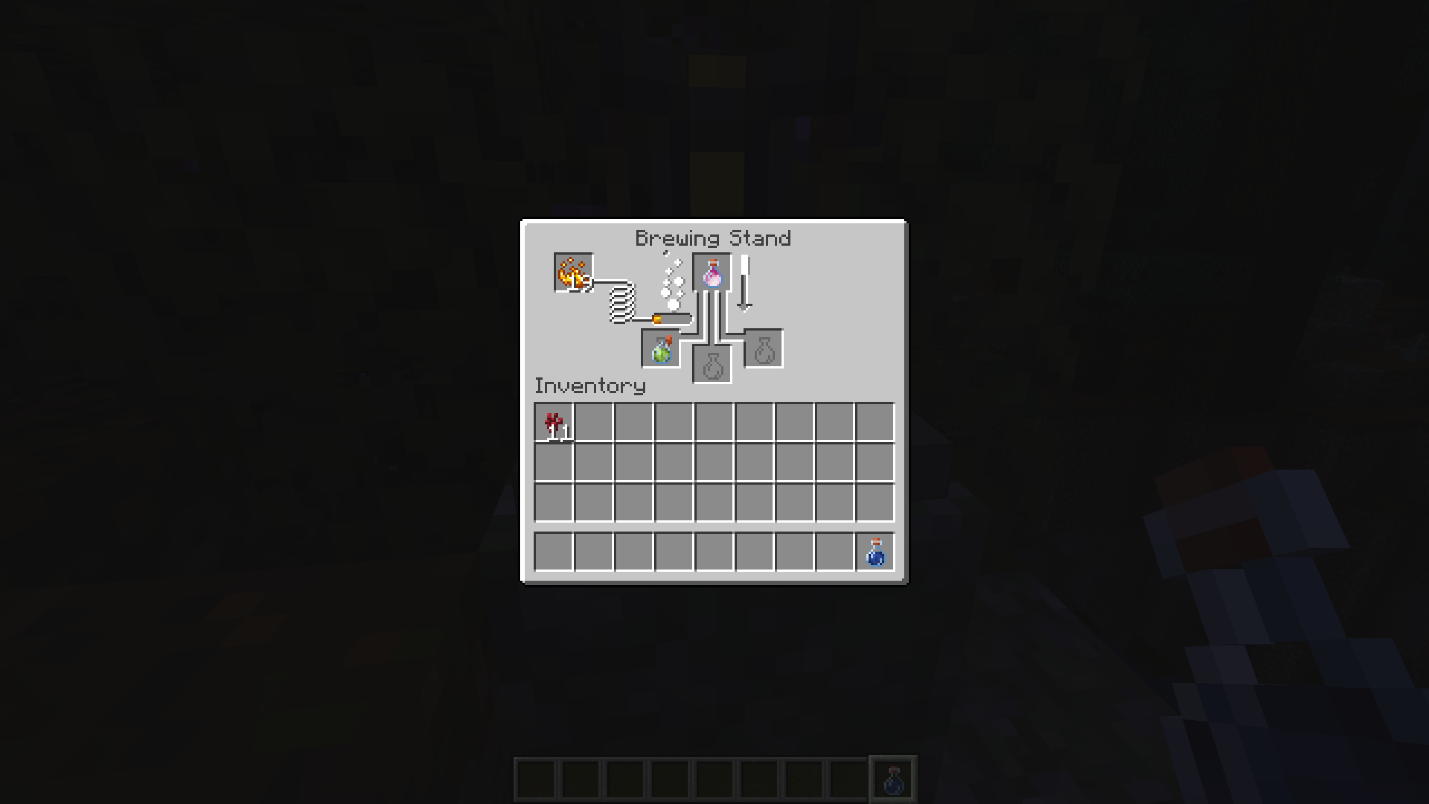
Lingering Potions leave a cloud of effect on the ground for 30 seconds. Dragon's breath is collected by right-clicking the dragon's breath cloud during the Ender Dragon fight with an empty bottle in hand.
The Most Useful Potions for Survival
Here are the top potion picks that will aid you well during exploration.
- Fire Resistance is arguably the most important survival potion. It gives complete immunity to fire and lava damage, which makes Nether travel and lava swimming completely safe. Extended Fire Resistance (8 minutes) covers most Nether runs comfortably.
- Slow Falling prevents fall damage entirely. It's particularly valuable in the End, where falling off a platform results in permanent death, and in any situation involving Elytra or building at height. The extended version gives 4 minutes of coverage.
- Strength II adds 3 hearts of melee damage per hit on top of your weapon's base damage. A diamond sword with Strength II hits hard enough to kill many common mobs in only a couple of strikes. It's the standard combat potion for boss fights.
- Healing II restores 4 hearts instantly. It's fast, reliable emergency healing – more efficient than waiting for passive regeneration and useful when the Regeneration Potion's gradual ticking isn't fast enough.
- Night Vision (extended) gives full visibility in darkness for the next 8 minutes. It removes the visual penalty of working underground or in caves entirely without any armor or food requirements.
- Regeneration II restores half a heart roughly every 1.2 seconds for 22 seconds. With its shorter duration but faster healing, it’s good for immediate combat recovery after taking heavy hits.
Mods That Improve Potions and Magic Utility
Vanilla brewing already covers most survival needs, but mods can make potions easier to manage, easier to understand, or part of a much bigger magic system. Some focus on small quality-of-life changes, while others add better HUD information, recipe help, or full spellcasting progression.
The mods below are useful if you want stackable potion bottles, clearer potion timers on-screen, in-game brewing recipe support, or a magic-based alternative to regular brewing.
Just Enough Items (JEI)
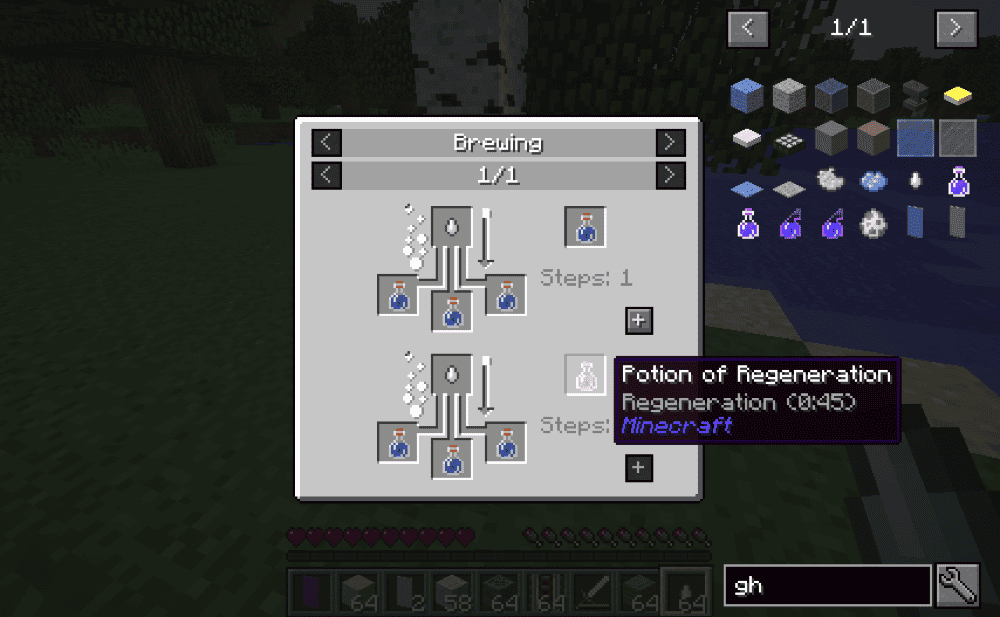
“Just Enough Items”, usually abbreviated as “JEI”, adds an item and recipe browser to Minecraft. For brewing, it helps you check potion recipes in-game instead of memorizing every ingredient order or opening a wiki beside your game.
You can hover over an item and press "R" to see its recipes, or press "U" to see what it is used for. That is useful when working with potions because you can search for an ingredient like nether wart, blaze powder, glistering melon slice, or golden carrot and quickly see where it fits into the brewing process. “JEI” also lets you search by item name, mod name, or multiple terms, which helps a lot when you are playing with potion expansion mods that add more effects and recipes.
The recipe viewer also supports scrolling between recipe pages and clicking a recipe category name to see all recipes in that group. For players who brew often, “JEI” makes it easier to follow the full chain from water bottle to Awkward Potion, then to the final potion and its redstone, glowstone, gunpowder, or dragon's breath upgrades.
Inventory HUD+
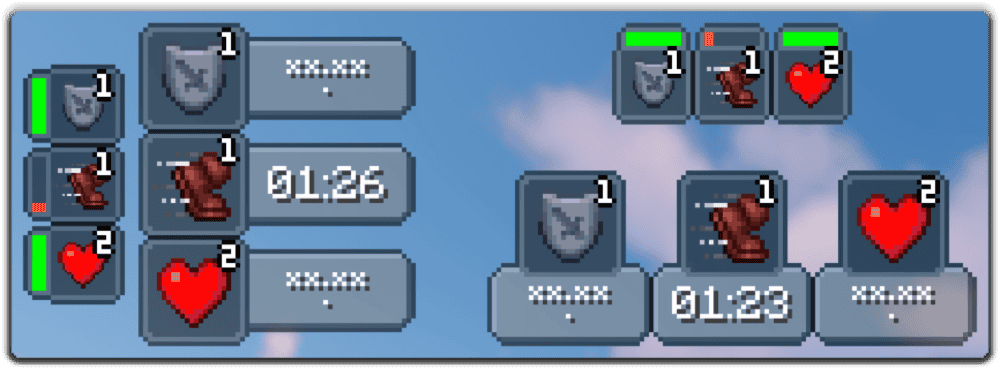
“Inventory HUD+” adds several customizable HUD overlays, including inventory, potion effects, armor durability, equipment, free inventory slots, and arrow count. For potion use, the key feature is PotionHUD, which shows active potion effects on-screen with a timer or a duration bar in mini mode.
This is useful when you rely on effects like Fire Resistance, Night Vision, Slow Falling, or Strength and do not want to open your inventory to check the remaining time. The HUD can be adjusted through the configuration file, with options for spacing, background transparency, horizontal mode, scale, and drag-and-drop positioning. The in-game configuration can also be opened with the default "O" keybind.
StackablePotions
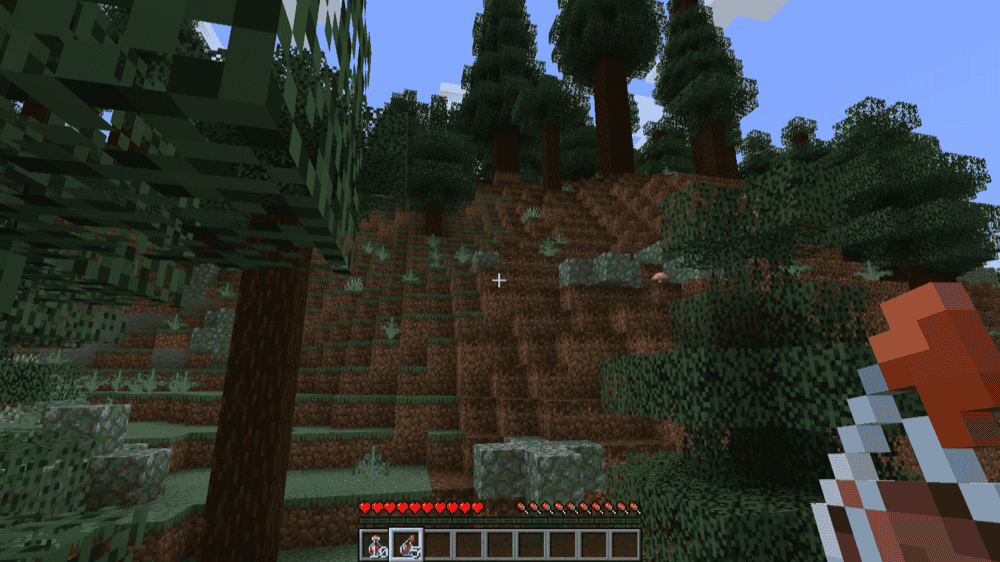
As the name suggests, “StackablePotions” lets vanilla potions stack instead of taking one inventory slot per bottle. It works with regular, splash, and lingering potions, allowing them to stack up to 16 in a single slot while keeping the normal vanilla potion effects and brewing process intact.
To keep splash and lingering potions from becoming too strong in combat, the mod also adds a one-second use cooldown for the thrown potion types. It is a simple quality-of-life option for players who carry several potions into Nether trips, boss fights, raids, or long exploration sessions and want a cleaner inventory.
How to Install Minecraft Mods
You can install the above mods automatically using the CurseForge app or manually by placing the mod files within your game's mods folder. Both methods allow you to easily add custom features and enhancements into your Minecraft experience.
If you want to learn more, you can read our detailed guide on how to install Minecraft mods.
Common Issues and Quick Fixes
My brewing stand isn't doing anything
Check that blaze powder is loaded in the fuel slot – the small left slot above the ingredient area. Without fuel, the stand won't brew regardless of what's in the other slots. Additionally, confirm you have water bottles in the three bottom slots and not empty bottles.
The potion effect isn't what I expected
Double-check the ingredients you used. Several ingredients look similar and are easy to mix up – glistering melon slice (for Healing) versus golden carrot (for Night Vision) versus magma cream (for Fire Resistance), for instance.
Additionally, confirm you started from an Awkward Potion, not plain water bottles. Most effect ingredients need an Awkward Potion first – adding them directly to water usually gives you a useless base potion instead of the effect you wanted.
Redstone made the potion weaker somehow
Redstone extends duration but doesn't increase strength – if you were expecting a stronger effect, you needed to add glowstone instead. And if you used glowstone first and then tried redstone, remember that you can't apply both modifiers to the same potion. The second modifier replaces the first in some cases or simply doesn't apply at all.
I Can't find nether wart anywhere
Nether wart grows in the soul sand patches near staircases in Nether fortresses. Nether fortresses generate in the Nether and look like large dark brick structures – scan the Nether at around the Y=64-80 altitude levels until you find one. Once you have a batch of nether wart, you can plant it on soul sand in any dimension and farm it like any other crop.
“StackablePotions” doesn’t stack my potions
The mod needs to be installed on the server in multiplayer for stacking to work across sessions. If you installed it client-side only on a multiplayer server, it won't function. For singleplayer, just having the .jar file in your mods folder is enough.
Make sure to also confirm that you downloaded the correct .jar for your loader – the Forge version won't work on a Fabric instance and vice-versa.
My game crashes after adding a new mod
A crash right after adding a mod usually means one of three things: the mod does not match your Minecraft version, it was made for a different loader, or a required dependency is missing. Check the mod’s "Files" page and make sure you downloaded the correct version for your setup.
If you install mods through the CurseForge app, required dependencies are usually handled during installation. If you install mods manually, you need to check the mod page yourself, download any required dependency mods, and place those files in your mods folder, too.
If you added several mods at once, remove the new mod files one by one and re-launch the game after each change. When the game starts normally again, the last file you removed is probably the one causing the crash.