Iron is one of the most important materials in Minecraft. It's needed for weapons, tools, armor, hoppers, minecarts, buckets, and more. In fact, you’ll likely go through hundreds of iron from axes and pickaxes alone.
But what if, instead of having to make time-consuming trips down to the mines, you could simplify your supplies with an automated iron farm? It’s perfectly possible! You just need a village, and a carefully crafted pit. Here’s everything you need to know. And for anyone wanting something a bit beyond that, we’ve included some helpful addons down below.
Before You Start: What to Know About Iron Golem Farms
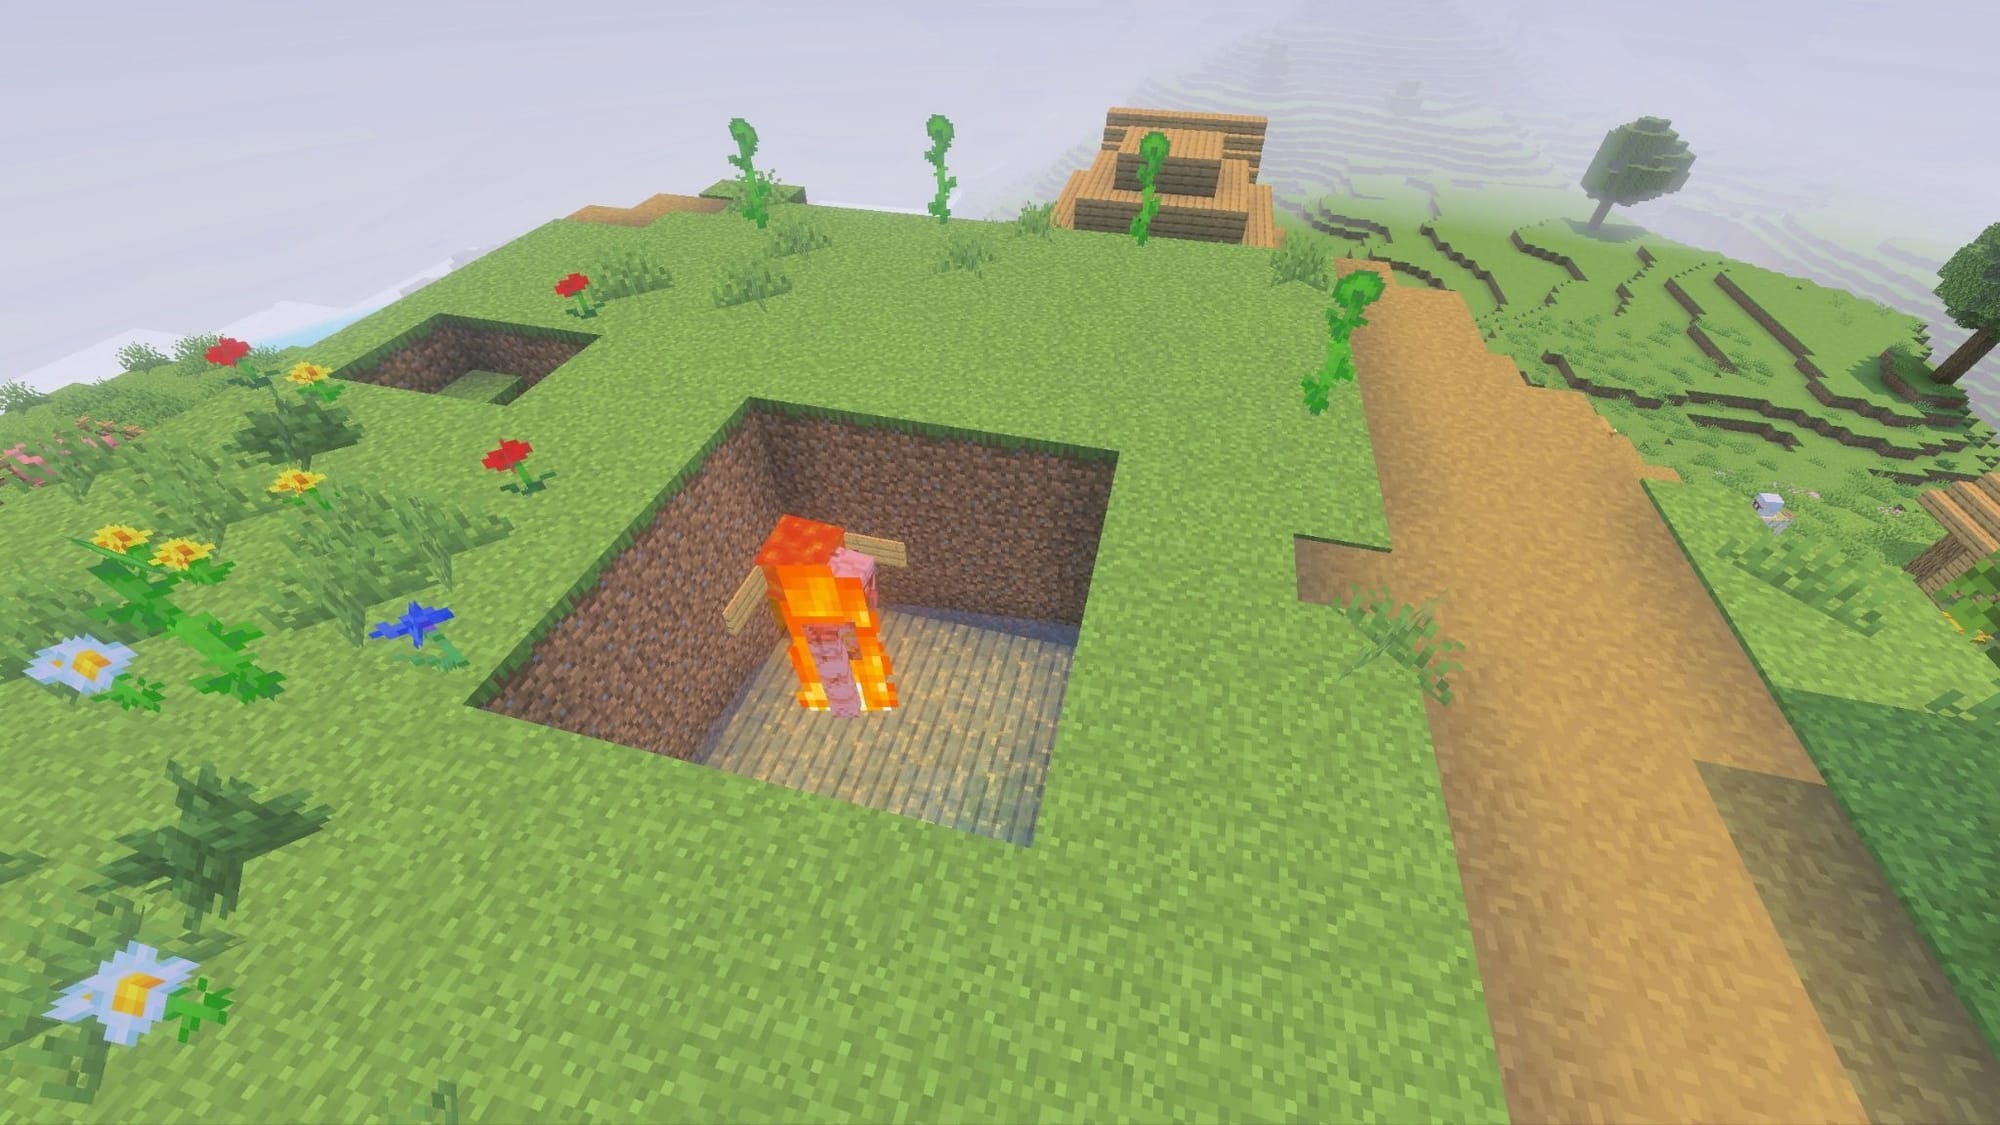
Traditionally, iron is found at all depths underground, waiting to be dug up and smelted into ingots. This works well, but it’s a time consuming process. If you want to really stockpile iron, you need a passive way to get more.
The best passive source of iron ingots are iron golems as they always drop at least three ingots on death. And just like any mob, their spawn mechanics can be exploited to make a mob farm.
Therefore, the best way to make an iron farm is by focusing it around iron golems, creating a setup to make them continuously spawn, and then loot their iron upon death.
6 Key Requirements for a Working Iron Golem Farm
Here are the six pieces of the iron farm puzzle you can’t go without:
- The village needs to have at least 20 beds.
- The village needs to have at least 10 villagers.
- All villagers must claim a bed and be able to access and sleep on this bed.
- At least 75% of villagers need to have already accessed their work station on the last in-game day.
- There needs to be enough space within 8 blocks of the village center to allow for iron golems to spawn.
- The villager to iron golem ratio should be 10:1, which means one golem for every 10 villagers.
Note: While not a golem-specific rule, you also have to be within simulation distance of the village for golems to spawn. That’s the specific range around you that the world continues to stay active. Move too far away, and it will essentially pause itself. With that said, this is true for any kind of farm, machine, mob, or automated process.
Fortunately, iron golems have one very specific rule for where they spawn, and that’s something we can take advantage of. It all depends on the “village center.”
Understanding Village Centers
Hidden in the code, all villages have a specific point that the game references as the center. This is then used for things like raids and mob spawning behaviour. Whenever the game has to choose a center, it locates either a bed, workstation, or bell. This is usually one that's, on average, in between all the others, but that can vary.
There’s no concrete way of knowing which block is the village center. You can, instead, try and force the village to re-select a new one until it’s where you want. Whenever a villager cannot reach a bed or workstation, the game re-selects a new block to be the center.
This means that:
- Having all beds and workstations in one area can ensure the village center is in that area.
- Your villagers need to be able to reach their beds and workstations or you risk moving the village center.
Building Your First Iron Farm Step by Step
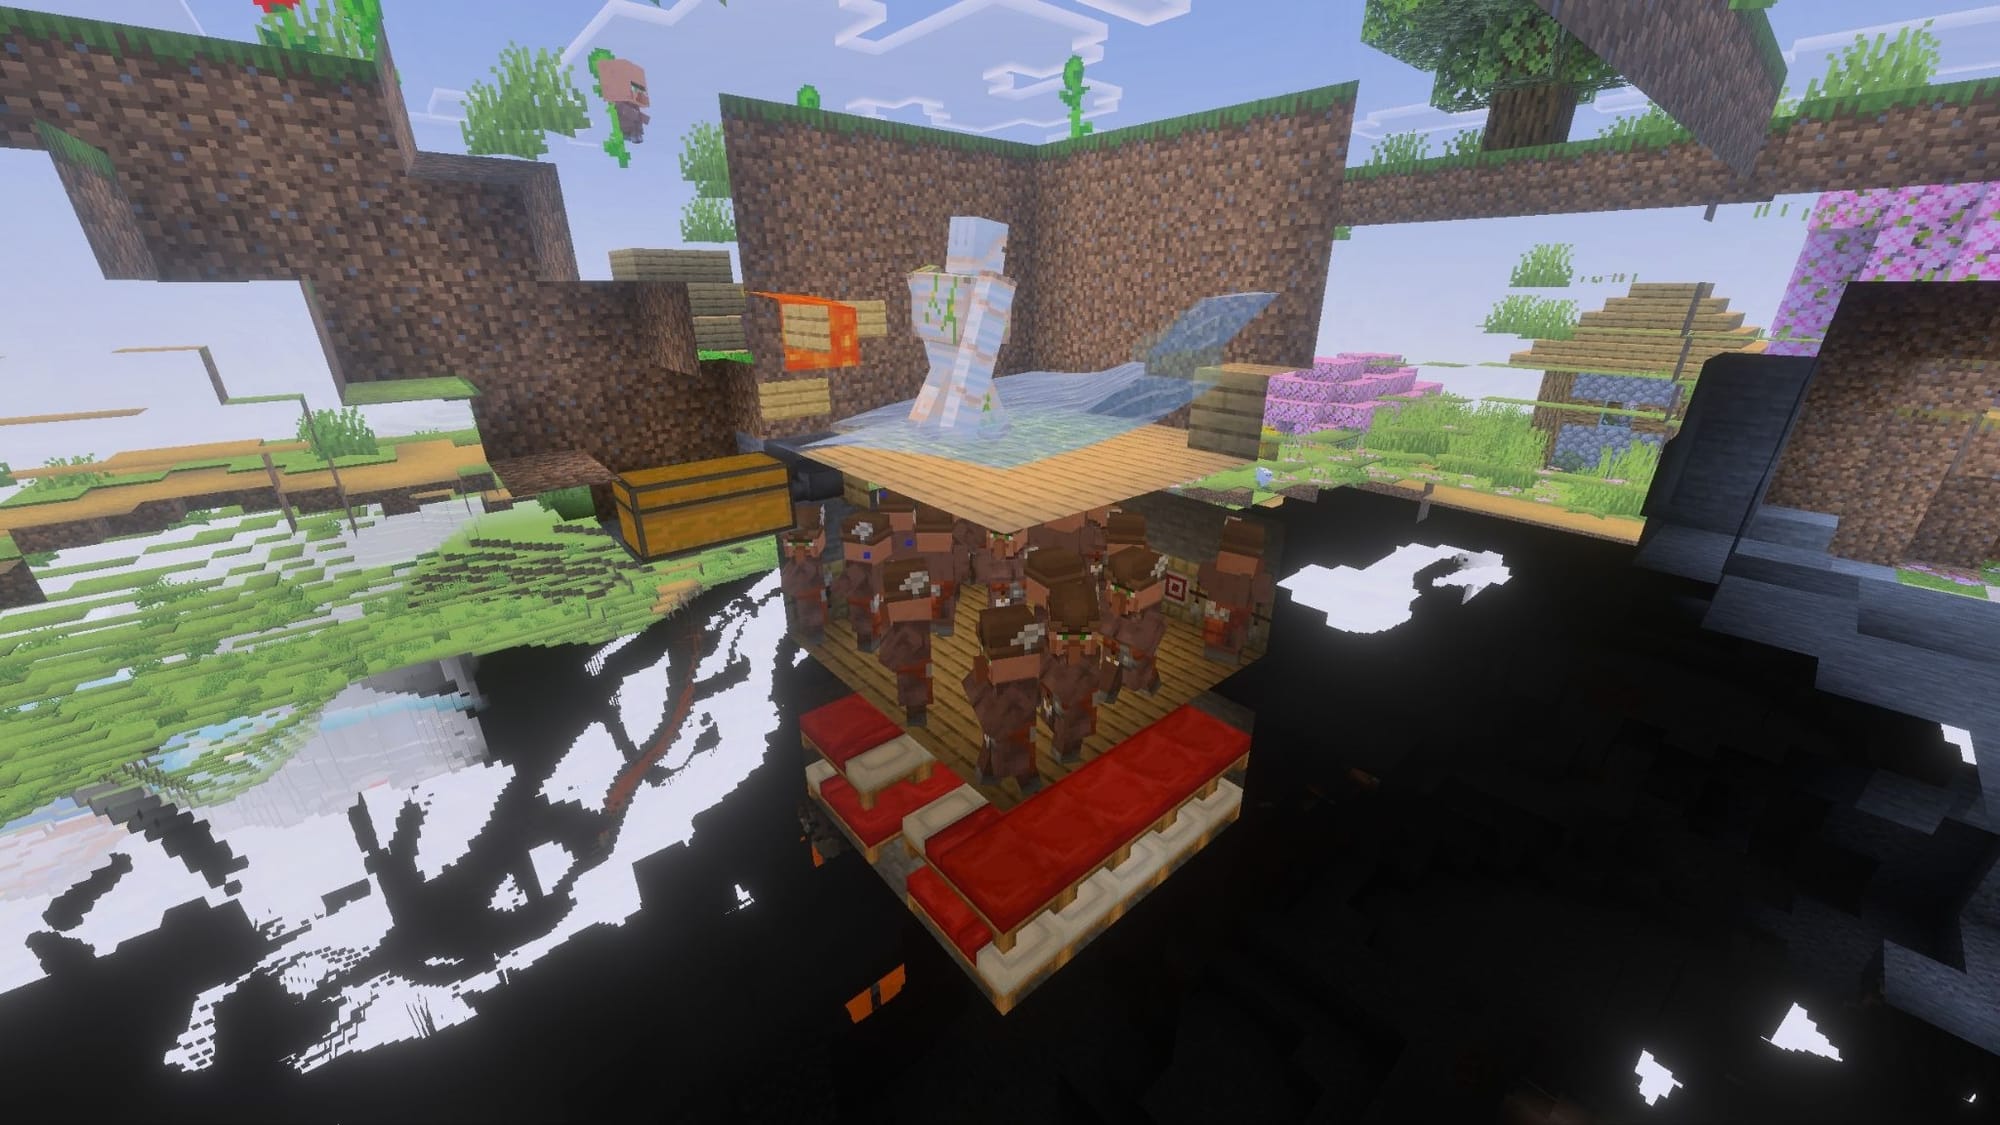
The steps we’ve outlined below, as well as the screenshot above, can be used to build a reliable iron farm by taking advantage of the game’s village mechanics. This can be done inside of an existing village, or you can build it completely new and “import” the villagers as needed.
If you’re building it inside an existing village, try to position it near the center, then:
- Dig a hole that’s 5x5 blocks wide, about 9 blocks deep.
- At the bottom, fill it up with five beds on each side. Be sure that the head of the bed with the pillow is on the inner side of the pit.
- Put another row of beds directly above the last ones (bunk beds!). You should have a total of 20 beds.
- Cover everything up with a layer of whatever block you want.
- Place a torch in the center of that new layer, then place 20 workstations. We recommend using Fletching tables.
Tip: You could also place the workstations in the outer wall and it should still work. Some builders will have the floor be the workstations as well, so whatever works for you.
- Fill the pit with 20 villagers, either by spawning them, by guiding them from a distant village, or by breeding them.
- Leave a row of space, then cover it so it becomes a 2 blocks-tall room.
- In one corner, place down a hopper leading to a chest, then place down a row of floor so that the hopper is level with the floor.
- In the opposite corner, place down a block, followed by a water source. This should create a water flow that leads to the hopper corner.
- Place a sign on the wall above the hopper, then a sign in the space next to the space above that sign.
- Place lava inside that space: the signs should hold the lava in place without it spreading.
And you're done! The iron golems should spawn in the only available space (the pool of flowing water), and then be pushed into the corner, where the lava will kill them. They will drop an iron ingot upon death, which will then be picked up by the hopper.
Addons that Automate Resource Farming
Farming for materials can be a bit of a slog, no matter what kind of game you’re playing. And while building your own automated iron farm can help alleviate that, there are other ways to enhance the Bedrock experience.
We find that the addons below can be great for taking some of the repetition out of resource farming, and are therefore well worth checking out.
testHow to Install Minecraft Addons
You can install Bedrock addons automatically from the official Minecraft Marketplace or manually by downloading them from a trusted source like the CurseForge website. For each of the addons above, open the linked project page and download its associated “.mcaddon” file. Opening the downloaded file should launch Minecraft and begin the import.
After the import finishes, edit the world and check both "Behavior Packs" → "Available" and "Resource Packs" → "Available". If all went well, activating the packs included with the addon should add its features to that world. If the project lists an experiment under "Requirements", you should enable it as well before loading the world.
For a complete walkthrough, check out our guide on how to install Minecraft Bedrock addons.
Common Issues and Quick Fixes
Iron golems aren’t spawning inside my farm
This could mean that either your village center isn’t where it should be or there’s a secret area nearby that they’re spawning in instead.
To fix this, check whether there are any workstations or beds outside of your iron farm. If so, break them.
Next, look around your iron farm: are golems spawning just outside of it? If not, this might mean looking into the caves below the farm and filling them up with solid blocks, with ideally 3 wide walls surrounding the farm.
Golems are spawning, but the iron output is low
Even the best mob farms won’t work if you’re not around for them to do their thing. If the iron farm is outside of your simulation range (which is different from your render distance), nothing will happen no matter how long you wait.
To ensure that the industrial cogs are turning, stay relatively close to your iron farm for longer periods of time, either by sitting idle or by having a base of operations nearby that you can spend quality time in. Avoid being in the Nether or End, too, since that essentially pauses all overworld simulations until you get back.
Alternatively, consider looking into a chunk loader addon that will force the iron farm’s map chunk to stay loaded no matter where you are, like Chunk Loader by DanteGaming.