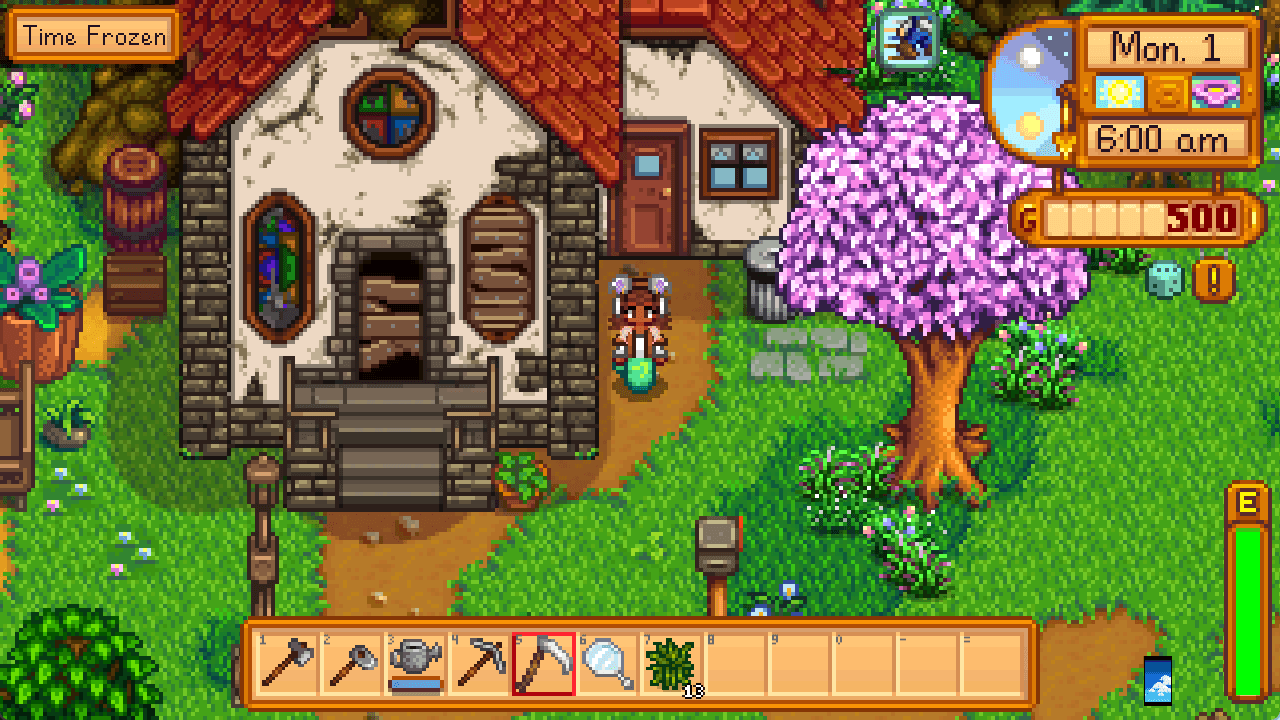
Customizing a Stardew Valley playthrough with mods is great, but building a tailored modpack for the community takes it to the next level. Crafting a seamless pack requires more than just dragging files into a folder; you need to check permissions, resolve missing dependencies, and tune configuration files.
This guide walks through the full setup process using the CurseForge app and Author Portal, covering everything from initial mod selection to publishing and updating your project.
Watch the following video for the full guide:
Step 1: Recommended Tools & Software Setup
Get these essential tools installed before starting your pack:
- CurseForge Launcher: Required to build, run, and export your modpack.
- Stardew Valley: Installed via Steam.
- 7-Zip or WinRAR: Useful for extracting third-party archive files.
- Paint.NET (or preferred image editor): Needed to crop and format your 400x400 pack logo.
- Sublime Text or Notepad++: Makes editing
.jsonconfig files far cleaner.
Step 2: Creating Your Base Modpack Profile
Open the CurseForge App and select Stardew Valley from your games list.
Use "Scan computer for games" if it does not appear automatically.
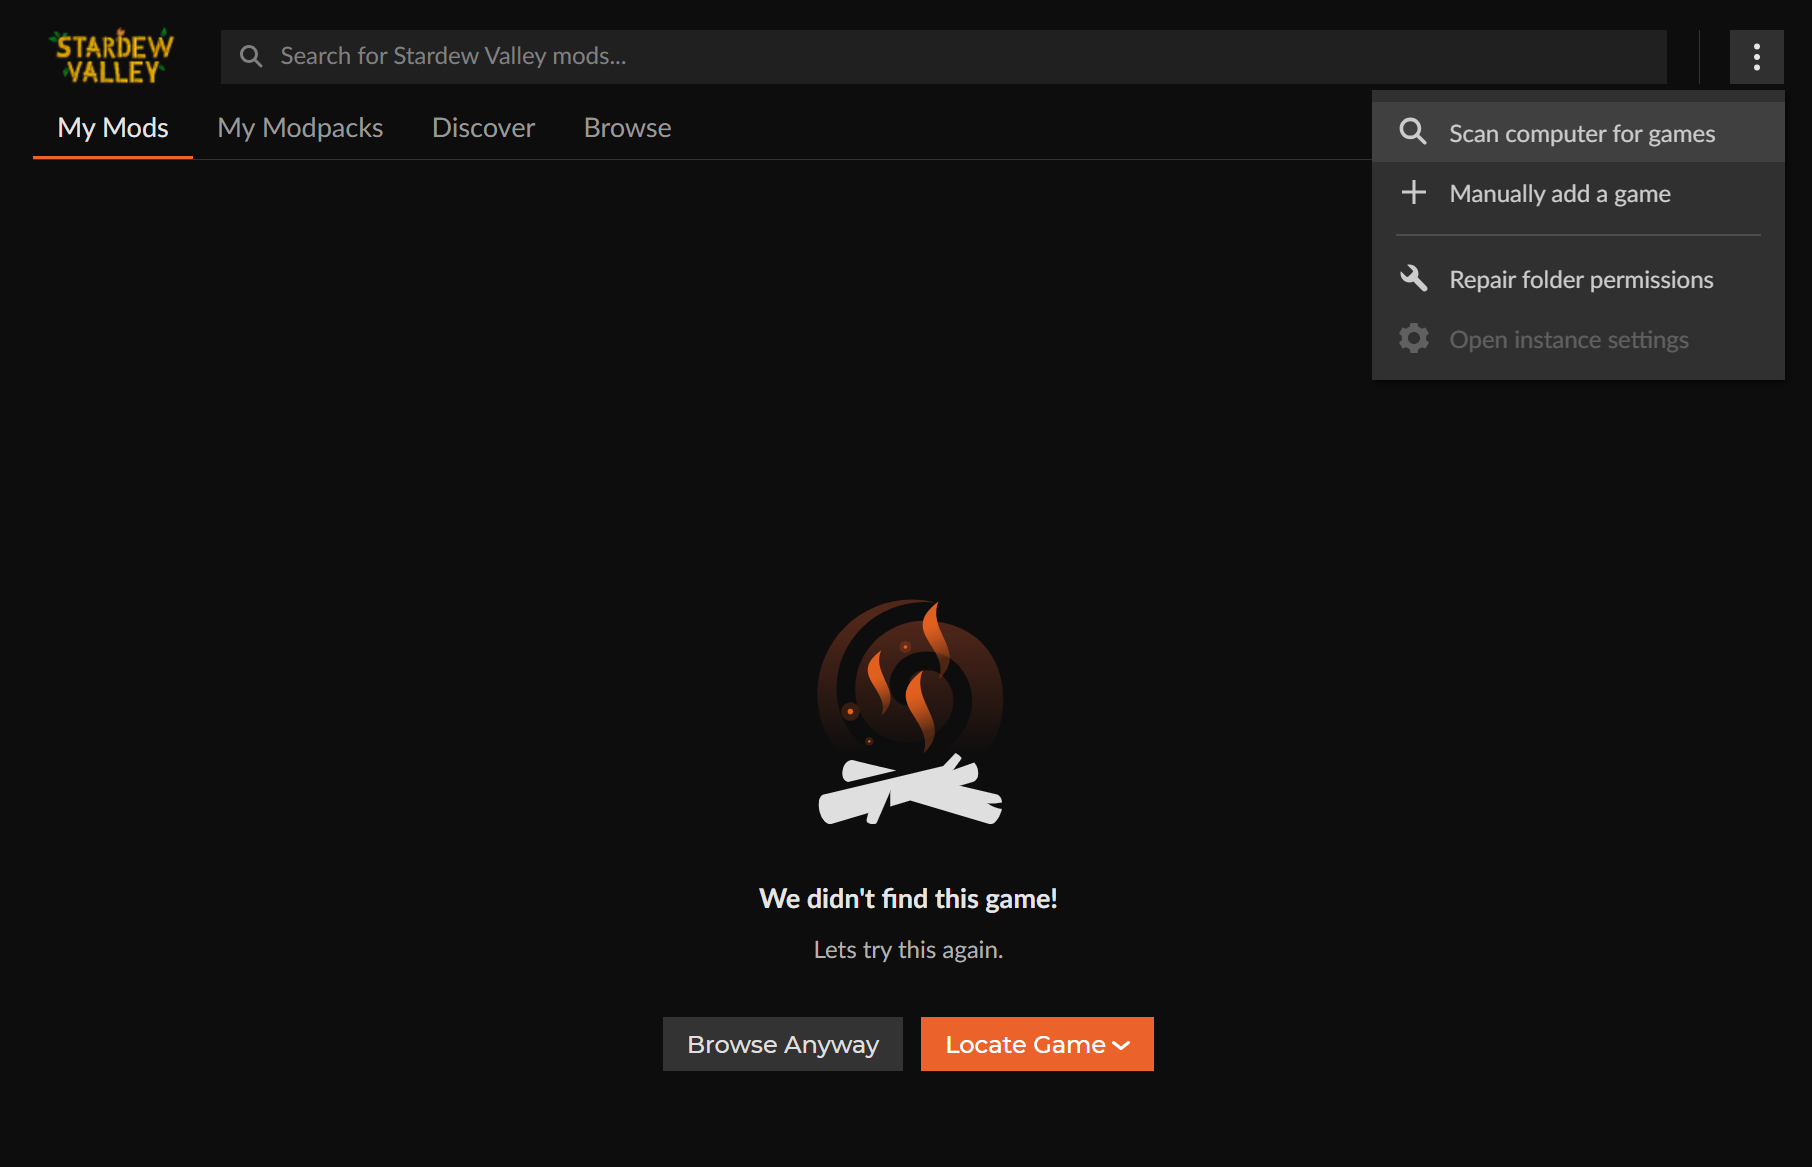
- Go to the "My Modpacks" tab, and click + Create at the top of the interface.

2. Enter your profile name and click Create.
3. Launch the blank profile once to make sure SMAPI loads without issues.
Step 3: Adding Mods & Resolving Dependencies
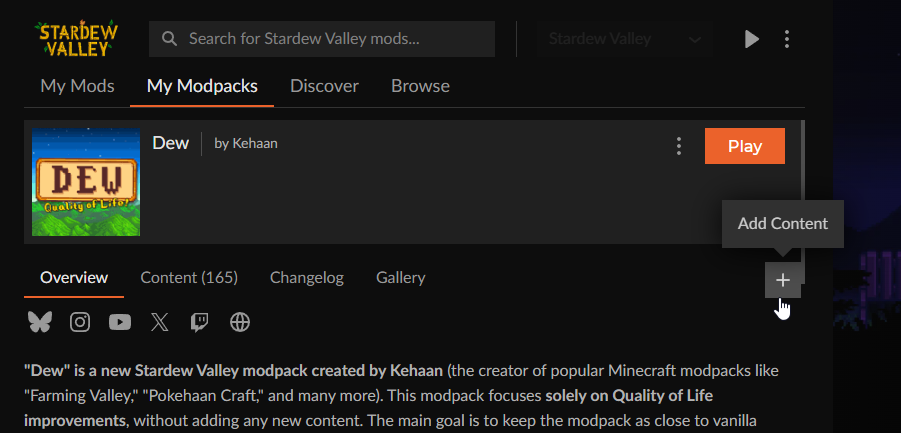
- Click Add Content inside your profile page.
- Filter the browse list by your target game version (e.g., 1.6.8).
- Useful base mods to add right away:
- Generic Mod Config Menu: Gives players an in-game UI to change mod settings.
- Lookup Anything: Provides detailed item and NPC info in-game.
- Check for required core mods (like Content Patcher) during installation. Watch the command-prompt console during launch; missing files trigger red/yellow warning text.
A Quick Note on Mod Permissions: Stick to mods available directly within the CurseForge library whenever possible. If you include files sourced from outside CurseForge, make sure you have explicit permission from the original author to redistribute them - otherwise, the moderation team will need to reject your build during review. See our guide on How to Pass Moderation Review here.
Step 4: Editing Configuration Files
Tuning default configs turns a random collection of mods into a polished pack:
- Open your modpack’s root directory using your code text editor.
- Open the specific mod folder you want to edit and target its
config.jsonfile. - Tweak parameters (such as keybinds or item costs) and save.
- Run the game to verify your settings applied correctly.
Step 5: Setting Up Your Author Page & Submitting the Project
- Go to the CurseForge Authors Portal and click Start Project.
- Choose Stardew Valley and set the class to Modpacks.
- Complete the project fields:
- Name & Summary: Keep it concise and catchy.
- Logo: Upload a 400x400 image.
- Description: Outline features, list credits for external mods, and insert screenshot URLs.
- Screenshots: Add images in the Images tab and star your favorites to feature them in the main gallery.
- Enable the Internal Issue Tracker to let players submit bug reports directly.
- In the CurseForge App, click the profile menu (three dots) -> Export Profile -> Set version number (e.g.,
1.0.0) -> Export. - Back on the Author Portal, navigate to Files, upload your exported
.zip, tag the game version, set the release type, and submit.
Read our article on How to Create the Best Project Page for tips on creating the best first impression for your modpack project page.
Step 6: Managing Modpack Updates
When issuing patches or adding new mods later:
- Download a fresh install of your published pack from CurseForge.
- Right-click the profile -> Profile Options -> Check Allow content management.
- Update mods or adjust config files as needed.
- (Optional) Install CJB Cheats Menu or CJB Item Spawner to speed up debugging, then delete them before exporting.
- Export the profile with an incremented version number (e.g.,
1.0.1), add a Changelog, and upload the file to your Author page.
Conclusion
Building a custom Stardew Valley modpack takes planning, testing, and a bit of fine-tuning, but seeing players jump into a farm curated by you makes every step worth it. By carefully balancing your mod list, checking file dependencies, and customizing configuration files, you are giving the community a fresh, seamless way to experience Pelican Town.
Once your pack goes live, keep an eye on your internal issue tracker for feedback, dive back into the Author Portal whenever new updates roll around, and watch your community grow.
Ready to share your vision or looking for inspiration before you start building? Browse the latest Stardew Valley Modpacks on CurseForge to discover what fellow creators are working on, test out new gameplay styles, and jump into your next farming adventure!
A big shoutout to Kehaan for providing the video tutorial for this post. Before you start building your own pack, don't forget to visit Kehaan's CurseForge Profile to check out his popular projects like Morning Dew and Everything Dew for some inspiration!