Tired of spiders crowding your home base? Annoyed at the sound of zombies that you can’t seem to locate underground? Instead of searching aimlessly in the hopes of finding them one by one, consider purging all of your problems instantly using console commands. The "/kill" command is one such function, capable of wiping out any manner of mob that dares to bother you.
But be careful. Using commands the wrong way can lead to disastrous results, especially when it comes to the "/kill" command. Carelessly typing it in can accidentally wipe out your farm, delete your trained dogs, and put a very abrupt end to a hardcore playthrough.
With that said, here’s everything you need to know to kill all mobs safely and correctly.
How To Safely Use The "/Kill" Command
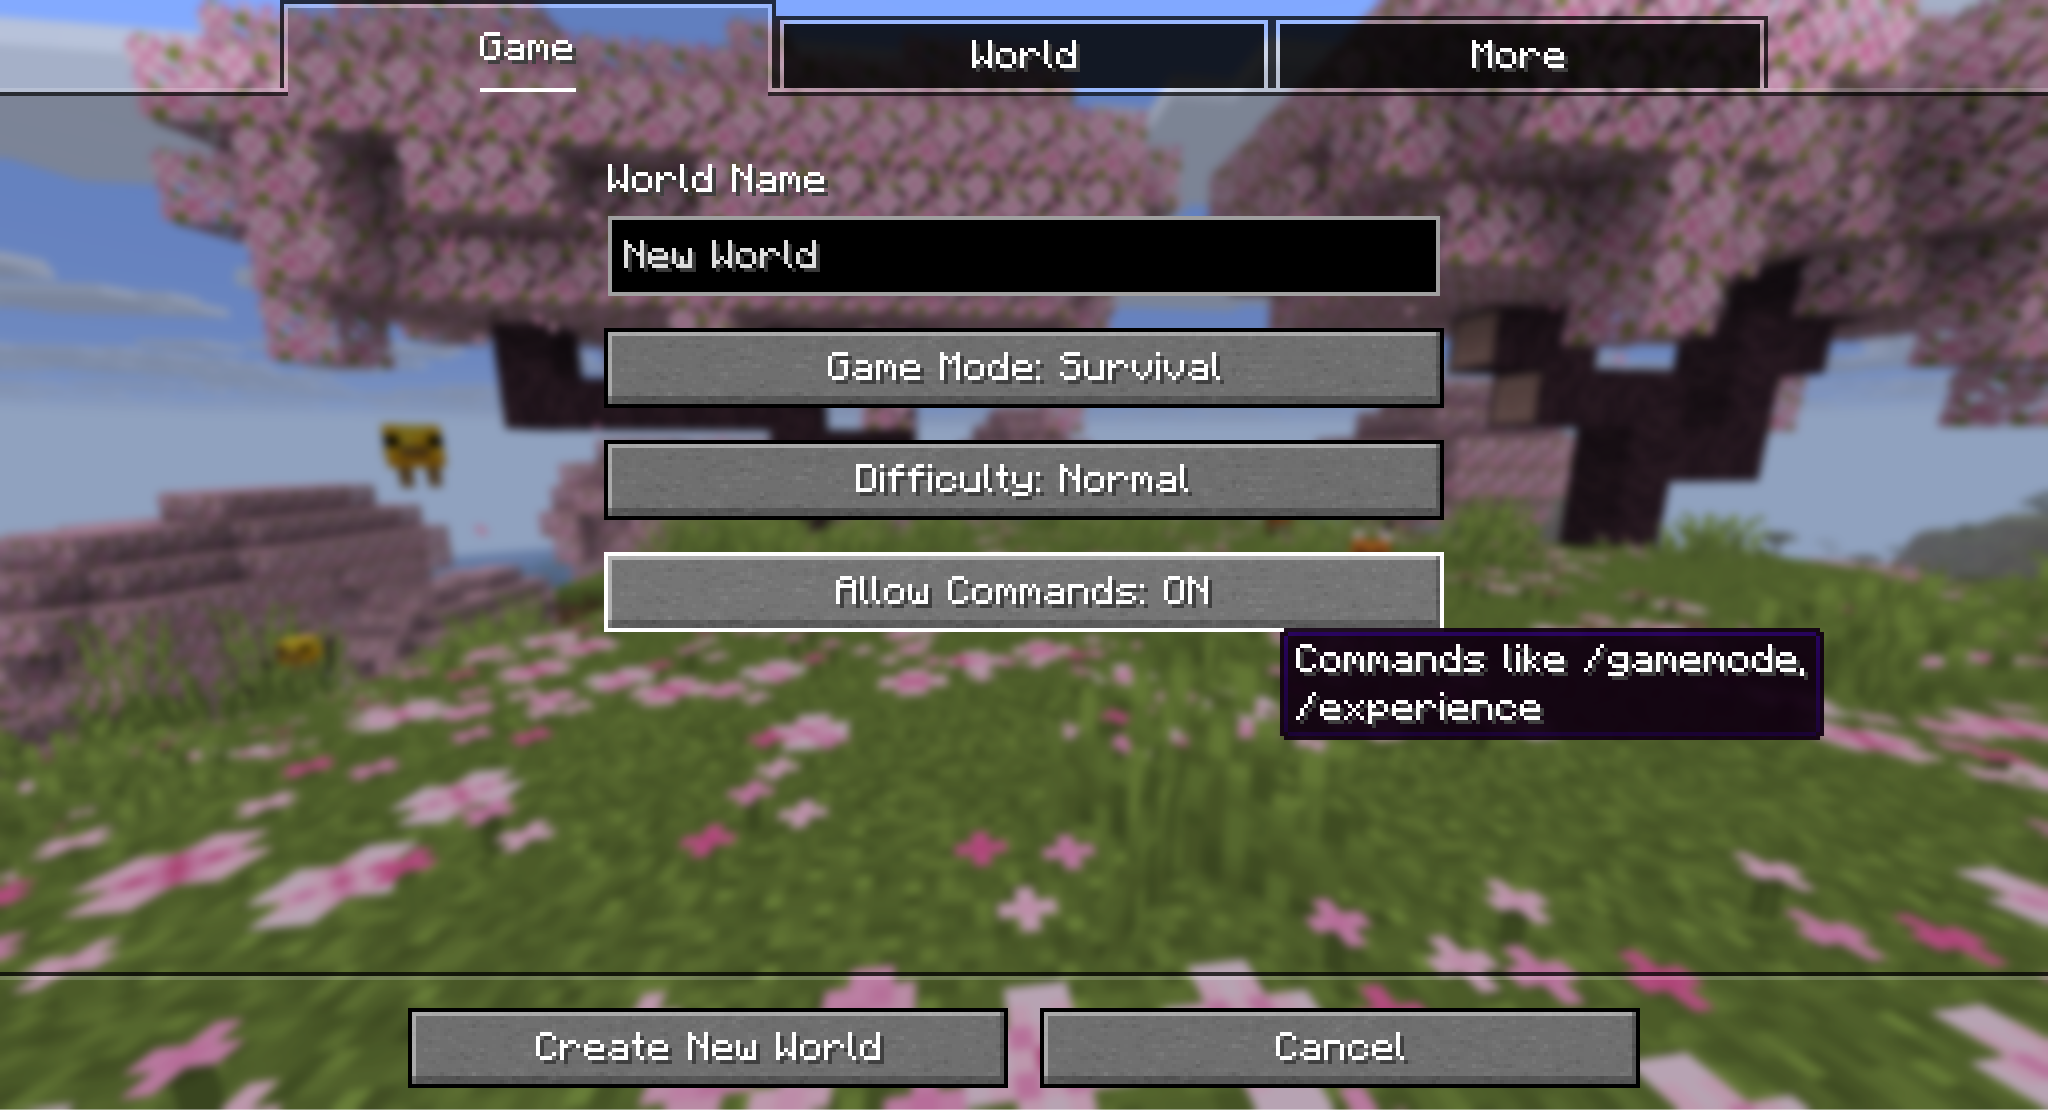
Before you can do anything, your world needs to allow commands. This is a setting that enables the numerous different game-modifying text commands, including "/kill".
- For new worlds, be sure to set "Allow Commands" to “on” when choosing world settings.
- For multiplayer servers, anyone with the Operator status can use commands. You can Op a user by using the "/op username" in the chat or in the server console. Note that only other operators can give op status to another player.
- For single player worlds that didn’t allow commands on creation, you can temporarily enable the setting by opening the game to LAN mode, and selecting the "Allow Commands" option to “on” from there. Commands will be available until you close out the game.
If enabled and if you have the permissions required to perform the commands, type "/kill" into the chat, followed by the target. For players, this is generally the username. But if you want to kill a mob (or all mobs), you need to use what’s called a Target Selector. This is the identifying text to direct the kill command toward.
Every Target Selector and How to Use Them
Target selectors allow you greater control over what the command should be applied to. Some are all-encompassing, like "@e", which will target literally all entities, players and mobs alike. Some are more detailed, like "@s", which targets whoever activated the command, or "@n" targeting whoever is nearest.
Thankfully, only one of them is needed to efficiently clear out entities. The "@e" selector is used to select all entities, including players, items on the ground, and mobs.
You can also manipulate the target selectors further, giving restrictions like only killing creepers, or killing all mobs that AREN’T creepers, or even killing any entities within a 20 block range of you.
This is possible by giving extra details in the command, called arguments. By adding arguments after the selector, you can limit what is affected by the command. They are formatted inside of brackets, and separated by commas.
Here are some of the most common arguments to use with the kill command:
- "[type=___]" is used for specifying a mob type, like creeper, player, or undead.
- "[distance=___]" is used to limit the command to a specific distance in blocks. This can be a single number or a range.
Tip: In Bedrock Edition, the argument is "r" instead, so "@e[r=10]" would be everything in a range of 10 blocks.
- "[name=___]" is used to target named entities (like when given a nametag).
- "[nbt=___]" is a very complex argument that references the dynamic data for the target, like a sheep’s color, equipped items, and so on. Generally, this argument is used more often for applying an effect to a mob than to target mobs with the "kill" command.
- Including an exclamation mark after the equal sign will invert the selection, so "[type=!sheep]" would target all mobs that aren’t sheep.
Tip: This is how you would target all mobs except players – by using the "[type=!player]".
A Few Examples to Get You Started
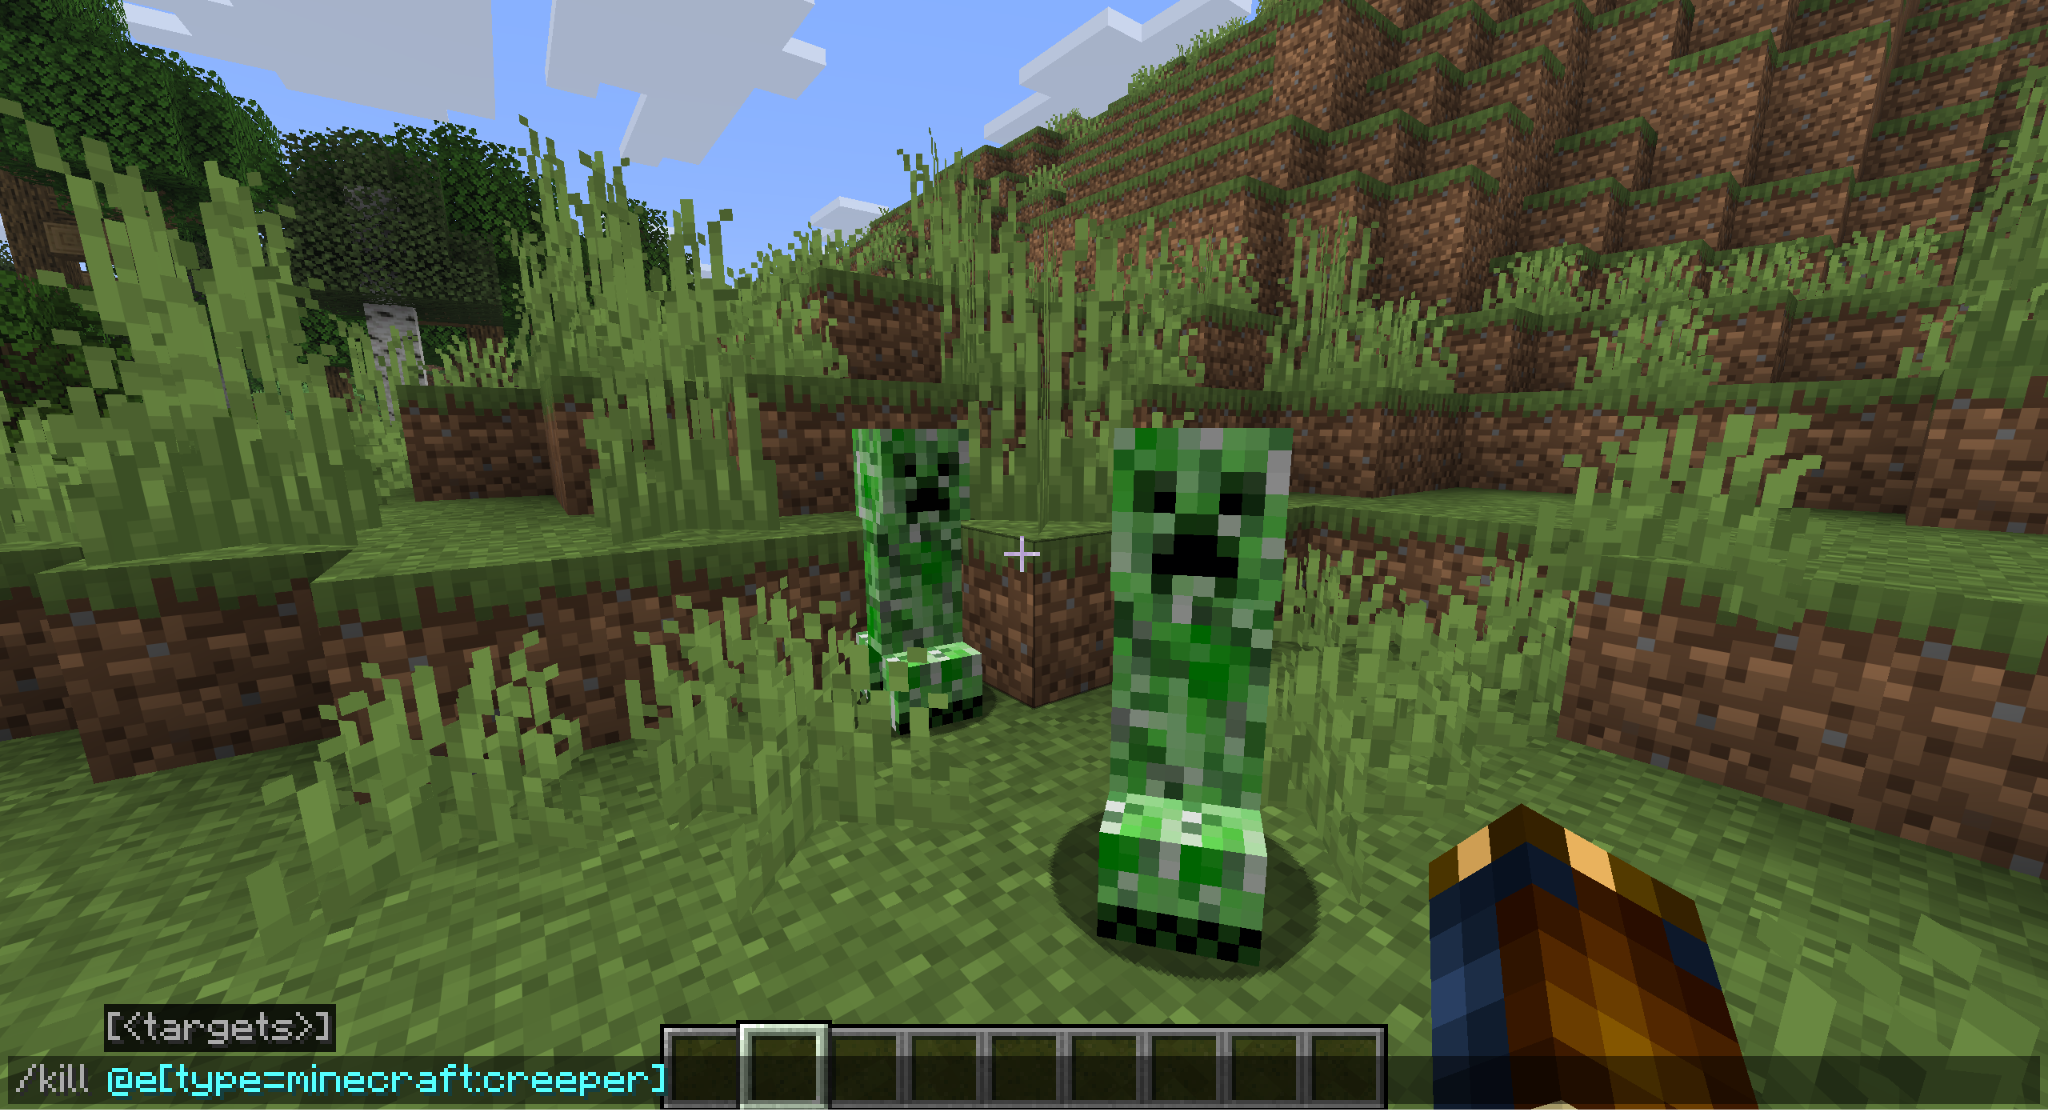
To select all creepers, the text would be "/kill @e[type=creeper]".
Here’s a more complex example: the command to kill everything except frogs within 10 to 20 blocks of you is "/kill @e[distance=10..20,type=!frog]".
There are numerous other ways that target selectors can be adjusted and expanded on to get more and more specific. But for killing all mobs, these are all you will need.
How to Kill Mobs the Old Fashioned Way
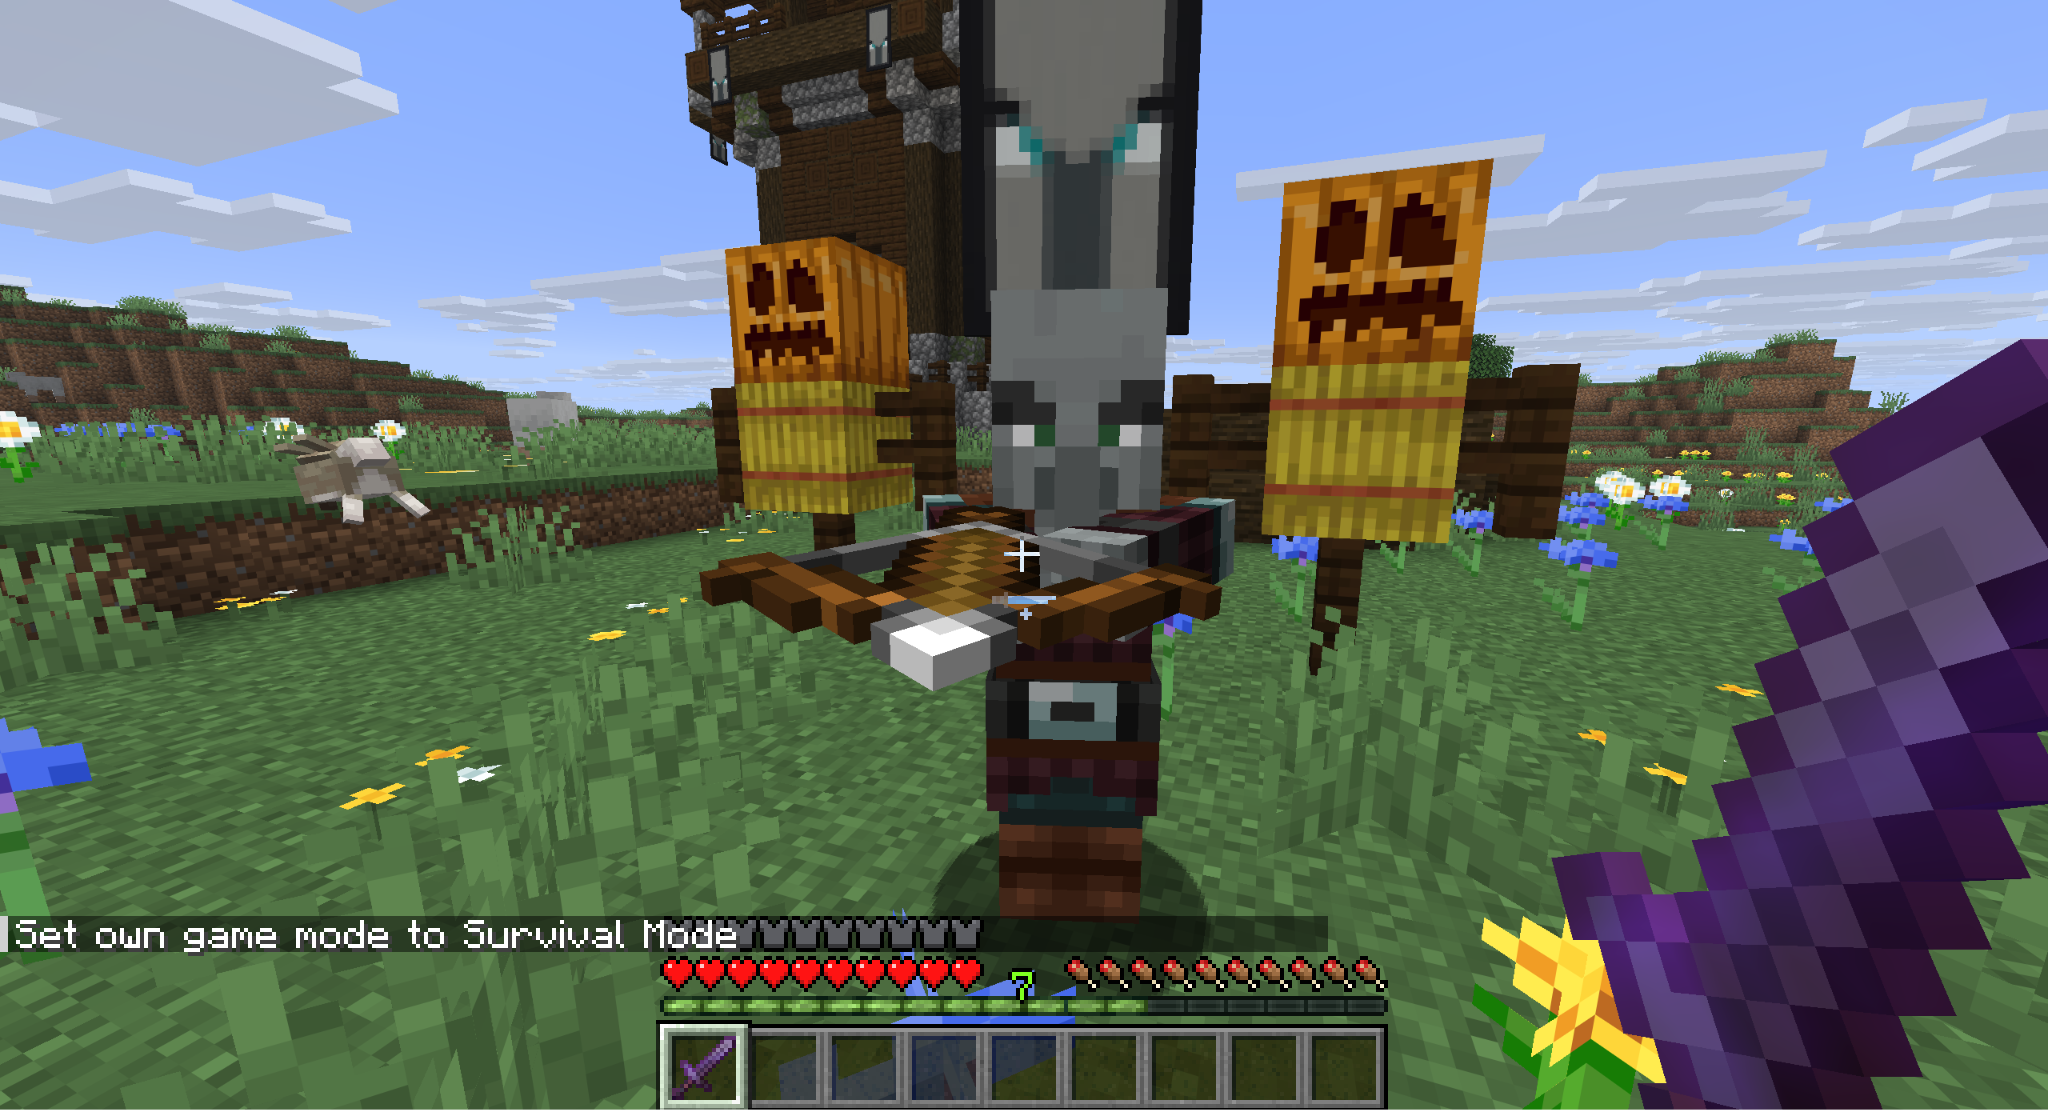
Maybe commands aren’t an option for you (or you don’t like that approach). If you want to thin out the number of mobs manually, there’s no better way to do that than with a weapon. Luckily, almost all mobs in the game can be eventually killed by hitting them with a sword enough times.
If you want to expedite the process some more, here’s a quick and dirty breakdown of what will help the most:
- Undead mobs take extra damage from the Smite enchantment and are hurt by potions of healing.
- Aquatic mobs take extra damage from the Impaling enchantment and will suffocate on land.
- Most animals and monsters will drown if staying underwater for too long.
- spiders, silverfish, and endermites take extra damage from the Bane of Arthropods enchantment.
- Snowballs do damage to blazes.
Note: Most mobs in the Nether are immune to lava, so a sword is a better approach.
Minecraft Mods that Make Commands (and Mob Killing) Better
Mob Grinding Utils
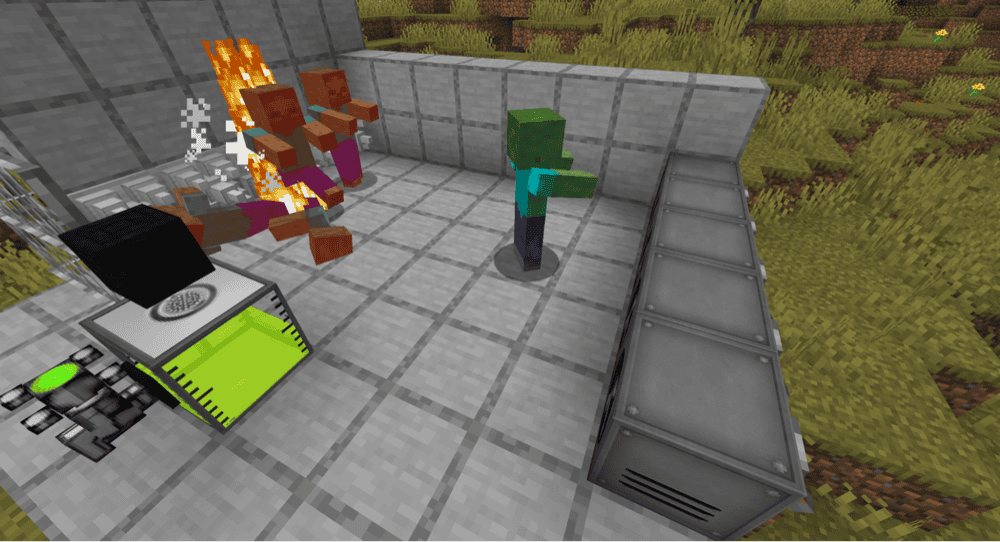
Mobs provide a lot of value, whether that’s the loot they drop or the experience you gain fighting them. Mob Grinding Utils gives you everything you could need to reap the benefits of farming mobs in a fully automated fashion.
Fans and conveyors can move mobs over an area, spikes and grinders will kill them, while hoppers and experience point tanks will collect everything of value. Combine them all to build impressive, automated mob farms that leave nothing behind.
EZ Actions
This powerful UI mod introduces a radial menu system. You can set whatever actions you want to each node, from hotkeys to multiple commands at once. This is especially helpful to players who like to use commands frequently.
Instead of typing them out every time, or saving one specific command to your clipboard, you could set up one action to teleport you home, another to change nighttime to daytime, and a third to kill off any nearby undead.
Create Custom Commands
If you find the vanilla command interface a bit tedious, you’re not alone. Create Custom Commands aims to remedy that by introducing, as the name implies, custom commands. With this mod, you can change how the commands respond, who can access them, and even combine multiple complex commands into one simplified one.
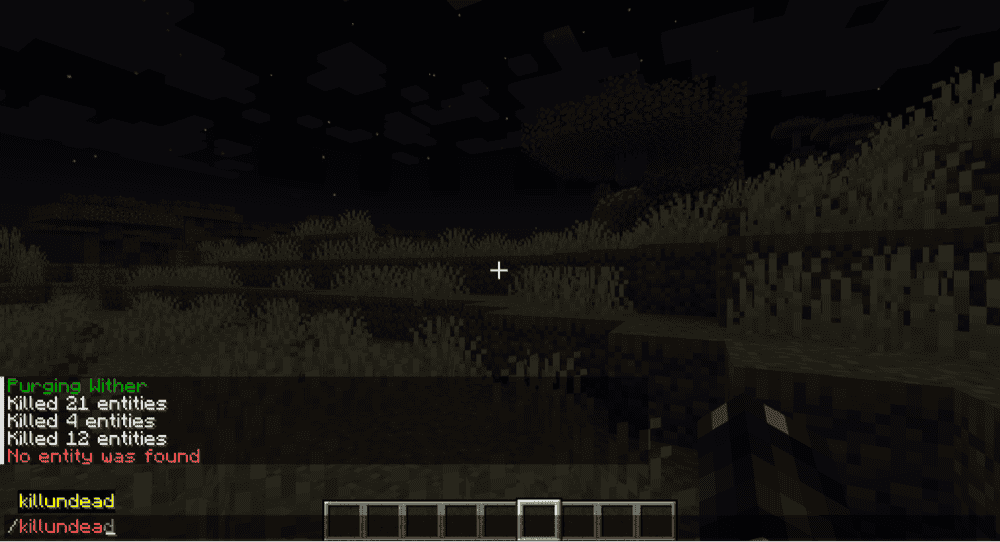
These work on servers, too, making it easy for everyone you’re playing with to benefit from the quality of life improvements your commands provide. They even have a premade custom command, "/k", that kills all entities except for players.
How to Install Minecraft Mods
You can install the above mods automatically using the CurseForge app or manually by placing the mod files within your game’s mods folder. Both methods allow you to easily add custom features and enhancements into your vanilla Minecraft experience.If you want to learn more, you can read our detailed guide on how to install Minecraft mods.
Common Issues and Quick Fixes
A specific type of mob won’t die when given the "kill" command
Some mobs have ID names that are a bit different from the mob’s actual name. Iron Golems are called “villager_golem”, for example. Rabbit is misspelled as “rabiit”, too.
Double-check that the mob name you type out is recognized by the command window. For best results, make sure to take advantage of the auto-fill function to look through the valid mob names.
Some mobs are still alive after the "kill" command was issued
The "@e" function will only work on mobs in a currently rendered chunk (chunks are visible sections of the map are actively nearby). Mobs in other dimensions or far away from you won’t be affected if the chunk they’re in isn’t loaded yet.
To affect more mobs with your "kill" commands, either move closer to a world chunk or raise your render distance to a higher value.
The "kill" command isn’t working with a distance variable
When specifying distance, you have to include range as well. Otherwise, your command will only target mobs that are specifically at that distance. You do this by having two periods between two numbers.
In practical terms, "@e[distance=5]" will only target things exactly 5 blocks away, while "@e[distance=5..10]" will target anything within 5 to 10 blocks away.